
To craft perfect biscotti, start by toasting nuts like almonds to enhance their flavor before mixing. Use all-purpose flour for the right dough consistency and experiment with flavors such as citrus zest or chocolate chips. Mix your dry and wet ingredients separately before combining to avoid lumpy dough. Shape your dough into uniform logs; this guarantees even baking. Remember, biscotti means 'twice-baked,' so after cutting your baked log at a diagonal, return slices to the oven until they've achieved that signature crunch. Cool on a wire rack to prevent sogginess. Follow these tips, and you'll impress anyone with your biscotti-making skills, revealing layers of flavor and texture.
Key Takeaways
- Preheat oven to 350°F and ensure even baking by positioning the biscotti in the center of the oven.
- Mix dry and wet ingredients separately before combining to ensure even distribution and optimal dough consistency.
- Shape dough into uniform logs and chill before baking to maintain shape and prevent spreading.
- Slice the baked logs diagonally with a sharp, serrated knife for clean cuts and the classic biscotti shape.
- Allow biscotti to cool on a wire rack after each baking phase to enhance crunchiness and prevent sogginess.
Understanding Biscotti

Before you start baking, let's talk about what makes biscotti so unique. You might be wondering about the differences between traditional and modern biscotti; well, they vary in ingredients, texture, and flavors. Understanding these distinctions will help you tailor your baking process and create the perfect biscotti that you're after.
What Makes Biscotti Unique
Biscotti's unique texture and durability set them apart from other cookies. You might wonder, what exactly makes Italian biscotti so distinct? Well, it's all about their twice-baked nature. Initially baked as a loaf, then sliced with a serrated knife and baked again, these Italian cookies achieve a dry and shelf-stable quality that enhances both their texture and permanence.
Here's why you'll fall in love with making and munching on biscotti:
-
The Crunch: Each bite into a biscotti offers a satisfying snap, a confirmation of its perfectly executed crunchy texture. It's a sensory delight that pairs wonderfully with your morning coffee or tea.
-
Permanence: Thanks to their low moisture content, these cookies are incredibly shelf-stable. You can bake a batch and enjoy them over many weeks without losing their crispness.
-
Versatility in Flavors: Sticking to the original recipe or experimenting with ingredients in your cookie recipe book, the twice-baking method guarantees robust flavors that endure through both baking times.
-
A Baking Adventure: Using your baking sheets for this unique cookie baking guide becomes an enjoyable challenge, mastering the art of the perfect crunch each time.
Traditional vs Modern Biscotti
As you explore the wonders of biscotti, it's fascinating to compare the traditional recipes that originated in Italy with the innovative twists modern bakers are applying today. Traditionally, biscotti are twice-baked cookies known for their dry, crunchy texture, perfect for dipping into vin santo or coffee. The classic almond biscotti recipe often features almond extract for a nutty aroma and sometimes anise extract, enhancing its distinctive flavor.
However, modern biscotti break away from these conventional bounds. Bakers are now experimenting with ingredients like chocolate chips, introducing a delightful contrast to the crunchy texture. You'll find recipes boasting not just traditional dark chocolate but also white chocolate, adding a creamy sweetness that's hard to resist. Additionally, to infuse a fresh twist, modern recipes incorporate citrusy notes using orange zest or lemon zest, which brighten the flavor and add a tantalizing aroma.
The debate between traditional vs modern biscotti hinges on personal taste. Do you lean towards the comforting, authentic flavors, or are you keen to explore new combinations and textures? Whichever side you choose, making biscotti offers a delightful baking adventure, blending history with creativity.

Choose Your Own Delightfully Perfect Cookies.
With almost 30 flavors to choose from, you can make your box as unique as you are.
Choosing the Right Ingredients
Now, let's talk about what goes into your biscotti to make them just right. You'll need to pick the best flour for a sturdy yet delicate texture, and consider which nuts and add-ins will complement the flavors you love. Exploring your flavoring options, like vanilla or almond extract, will really make your biscotti stand out.
Flour Selection
Choosing the right flour is essential for creating the perfect biscotti texture and flavor. You'll want to start with a high-quality all-purpose flour as your base. This type of flour provides the ideal gluten strength for biscotti, guaranteeing they're crisp without being too tough. When measuring, use a spoon to fluff up the flour within the container, then scoop it into your measuring cup and level it off with a knife. Avoid compressing the flour, as this can lead to dense, heavy cookies.
When you're preparing your biscotti dough, here's what you should keep in mind:
- Measure Precisely: Use exactly 2 1/2 cups of all-purpose flour. Accuracy is key in baking.
- Sift Your Flour: Always sift your flour mixture to integrate air and eliminate clumps. This makes your dough lighter.
- Prepare Surfaces: Before kneading, dust your surface with a thin layer of flour to prevent sticking.
- Mix Dry Ingredients Separately: In a medium bowl, mix the additional flour with other dry ingredients before combining them with wet ingredients to secure even distribution.
Nuts and Add-ins
Selecting the right nuts and add-ins can elevate your biscotti's flavor and texture to new heights. When you're baking biscotti, consider the kind of crunch you want. Almonds offer a classic bite that makes almond biscotti a favorite. If you're after a softer crunch, try adding pine nuts to your biscotti dough. They blend beautifully without overpowering other flavors.
For those who love a bit of chocolate, mini chocolate chips are perfect. They melt slightly during baking, creating pockets of gooey goodness in your crunchy biscotti. Just be sure not to overdo it; you want to maintain that signature biscotti crisp.
Experimenting with different combinations can lead to exciting homemade biscotti varieties. Imagine a batch of chocolate biscotti with a hint of orange zest or a traditional recipe enhanced with a mix of nuts and dried fruits. The key is balance. You don't want your add-ins to overwhelm the dough or disrupt the biscotti's texture.
Flavoring Options
After selecting your nuts and add-ins, focus on the spices and extracts that will best complement your biscotti's overall flavor profile. Choosing the right blend can transform your biscotti from good to unforgettable. Here's how you can infuse extra flavor and experiment with delicious flavor twists:
-
Explore Extracts: Don't just stick to vanilla extracts; they're lovely, but why not try anise extract for a traditional touch or almond extract for a nutty depth? Each extract adds a unique layer to your biscotti recipe flavors.
-
Zesty Endeavors: Incorporate zest for lemon, lime zest, or orange zest oils to add a fresh, tangy kick. These citrus notes brighten the biscotti and offer a delightful contrast to the richer ingredients.
-
Spice It Up: Consider classic spices like cinnamon, nutmeg, or cardamom. A small dash can introduce an aromatic warmth, enhancing the biscotti's complex flavor profile.
-
Final Flourishes: For an indulgent finish, consider a drizzle of chocolate over your cooled biscotti. It not only adds visual appeal but also complements many additional flavors, turning each bite into a decadent experience.
With these options, you'll surely bake a batch that's as delicious as it is unique!
Mixing the Dough
Now that you've picked your ingredients, let's talk about how to mix them into the perfect biscotti dough. You'll need to master a few key techniques to guarantee your dough has just the right consistency; it's not as hard as it sounds, though! Remember, mixing too little or too much can make all the difference, so let's get it right from the start.
Proper Mixing Techniques
While mixing the dough, make sure you do it gently to avoid overworking the mixture, which can lead to tough biscotti. Start by combining your dry ingredients, like flour and baking powder, in one bowl. In a separate bowl, whisk together wet ingredients such as unsalted butter, granulated sugar, and your egg mixture until they're creamy. Gradually add the dry ingredients to the wet, using an electric mixer on a low setting. You're aiming for a shaggy dough to form; this is your cue to stop mixing. Overbeating at this stage can create a heavy dough, which isn't what you want for delicate, crunchy biscotti.
Here are a few emotional tips to remember as you mix:
- Embrace the Process: Enjoy the transformation of simple ingredients into something magical.
- Patience is Key: Resist the urge to rush. Let the mixer do its work gently.
- Feel the Texture: Use your hands to feel when the dough has just combined—it should be slightly sticky but manageable.
- Celebrate Each Step: Every addition is a step closer to those perfect, homemade biscotti that'll wow your friends and family.
Achieving the Right Consistency
Achieving the right dough consistency is vital for biscotti that are perfectly crunchy yet not too hard. When you're mixing your dough, it's important to avoid both extremes: the dreaded dry dough and the pesky sticky dough. Start with a well-measured balance of plain flour and baking powder—this guarantees your biscotti will have just the right lift.
As you mix, if your dough feels too crumbly and isn't holding together, it's likely too dry. Add a small amount of liquid, just enough to make it pliable. On the flip side, if it's sticking to your hands and the bowl like gum, sprinkle a bit more flour until you've got a manageable texture.
Once you've hit the sweet spot, it's time to shape the dough. Portion the dough, then roll each portion into logs about 1-inch thick. This is your classic American-style biscotti dough, ready to be transformed into those iconic cookies. Place the dough logs onto a prepared baking sheet, making sure they have space to expand.
Shaping the Logs

Now, let's get your hands dirty as you shape your biscotti logs. You'll want to make sure they're the right size and shape for even baking — aim for logs that are uniformly thick from end to end. Here are a few tips and tricks to keep everything consistent and make certain your treats bake perfectly every time.
Size and Shape Guidelines
Shape your biscotti dough into logs of uniform size to guarantee even baking and consistent results. Once you've mixed your dough, it's time to shape it into logs. This step is essential as uneven logs can lead to inconsistently baked biscotti. Here's how to get it just right:
-
Form the Log of Dough: On a lightly floured surface, divide your dough into equal portions. Roll each portion back and forth until you form a smooth log about 12 inches long and 2 inches wide. This ensures that each biscotti will be uniform.
-
Prepare Your Baking Tray: Line your cookie sheet or rimmed baking sheet with parchment paper. This prevents sticking and guarantees easy cleanup.
-
Position the Logs: Place each log of dough several inches apart on the prepared baking tray. They'll need space as they'll spread a bit during the initial baking.
-
Chill Before Slicing: Refrigerate the logs for about 30 minutes. This firms up the dough, making slicing into 1/2-inch-thick pieces using a sharp or serrated bread knife easier. Keep your knife angle consistent for uniform slices.
These steps will set you up for biscotti that are not only delicious but also picture-perfect!
Tips for Even Baking
Once your logs are shaped and chilled, ensuring they bake evenly is the next step to perfect biscotti. After shaping, it's essential to chill the dough logs in the refrigerator before baking. This helps maintain their shape and stops them from spreading too much in the oven.
Before popping them into the oven, line your baking sheet with parchment paper. This not only prevents sticking but also contributes to even baking. Make sure to space the logs evenly on the sheet; if they're too close, they won't bake uniformly.
Bake until they turn golden brown—a sign your biscotti are just right. Don't forget, the baking powder in your recipe is the secret to getting that ideal texture. Once out of the oven, let them cool slightly on the sheet before transferring them to a wire rack. Cooling is just as important to achieve the perfect crunch.
When it's time to slice, use a sharp bread knife. Saw gently to avoid crumbling. Lay the slices flat on cookie plates and bake again until they're perfectly crisp. Remember, even baking during this second phase is key to achieving that professional, café-style quality in your biscotti.
First Bake
Now that you've shaped your logs, it's time to focus on the first bake. You'll need to keep a close eye on the temperature and timing, as these are key to achieving the perfect crunch. Look out for the signs of doneness, which we'll explore next, to make sure your biscotti doesn't bake too long or not enough.
Temperature and Timing
For the first bake, set your oven to 350°F (175°C) and bake for 25-30 minutes until the biscotti log is lightly browned and firm to the touch. This initial stage is pivotal in the baking process, setting the foundation for that perfect crunch. Before you start, remember to preheat your oven and toast 150g of skin-on almonds to enhance their flavor. Once toasted, let them cool before chopping and adding them to your dough.
The success of your biscotti hinges on these early steps. Here's a breakdown to make sure you're on the right track:
- Preparation: Combine your dry ingredients, including baking powder and ½ teaspoon of salt, making sure they're well mixed.
- Dough Formation: Incorporate the cooled, chopped almonds and 1 teaspoon of almond extract into your dough for that nutty aroma and taste.
- Shaping: Shape the mixed dough into logs, ready for the oven. Their uniform size guarantees even baking.
- Cooling: After baking, let the logs cool using the appropriate cooling method before slicing them into 1/2-inch thick pieces.
These steps, done correctly, lead to biscotti that are not just treats, but treasures.
Signs of Doneness
You'll know the biscotti log is ready to come out of the oven when it's lightly browned and firm to the touch. This is the initial first check in ensuring your baking biscotti cashew cranberry turns out just right. As the scent of brown sugar and anise seed fills the air, peek at the dough's color. It should not just be dry on the outside, but also exhibit a golden hue that whispers of readiness.
At this stage, the biscotti cookies are halfway through their journey. You've spread the dough with egg on baking paper, sprinkled a bit of turbinado sugar for that extra crunch, and carefully placed them on separate cookie sheets to guarantee even cooking. Remember, the texture is essential. The surface should be set and not sticky, indicating that the baking soda is doing its job.
Now, don't rush to slice them into separate cookies yet. They need to cool slightly so they can handle the next phase without crumbling. Patience here means perfection later. Once they're manageable, transfer the semi-baked logs onto a cooling rack, and gear up for the second bake, where they transform into the crisp, delightful dry cookies everyone loves.
Slicing Techniques
Now that your biscotti has cooled, you're ready to slice it, and the right tools and techniques are key. You'll want to choose a serrated knife for clean cuts; it helps to grip the crust without crushing your biscotti. As for the angle, a slight diagonal cut not only looks great but also provides the ideal shape for easier dipping and eating.
Choosing the Right Knife
Selecting the correct knife is vital when it comes to slicing biscotti dough into tidy, uniform pieces. The appropriate knife not only makes the process easier but also guarantees that your Italian cookies look as good as they taste. Whether you're working with a tray lined with parchment paper or a heat-proof bowl filled with simple ingredients, a sharp, serrated knife is your best friend.
Here are four key reasons why choosing the right knife will make a difference:
- Precision: A serrated knife cuts through the crunchy exterior of your biscotti without crushing the delicate interior, preserving the integrity of each biscotti cookie.
- Consistency: Uniform slices are crucial for even baking. Consistent thickness means that all your Italian cookies will bake at the same rate.
- Safety: A sharp knife requires less force, reducing the risk of accidents.
- Enjoyment: There's a real joy in using the appropriate tools. Imagine transferring your perfectly sliced biscotti onto a tray with parchment paper, knowing each piece is beautifully made thanks to your careful preparation and the correct knife.
Optimal Slicing Angle
While selecting the appropriate knife is crucial, mastering the ideal slicing angle is just as important for achieving perfect biscotti. You'll want to angle your knife at about a 45-degree tilt when slicing the log of biscotti dough. This ensures that each piece is uniform, which not only looks great but also helps in baking evenly.
Now, before you even reach for that knife, make certain your biscotti log is cool enough to handle but still warm. If it's too hot, the slices will crumble; too cool, and they'll be difficult to cut through. This is where your baking cupboard comes in handy. Make certain it's stocked with alternative ingredients like unsalted almonds or unpeeled almonds, which can add a delightful crunch. For a flavor twist, consider adding 3 ¼ cups of flour, a few teaspoons of anise extract or even a dash of anise oil to your dough.
If you're in the mood to experiment, why not try a chocolate version? Simply incorporate some melted white chocolate into the mix or add a white chocolate decoration on top after slicing. It's these little adjustments that can turn your standard biscotti into a customized treat that's all your own.
Second Bake

Now, let's talk about the second bake, which is essential to perfecting your biscotti's texture. You'll find that adjusting the baking time can make your treats crunchier or softer, depending on your preference. Remember, keeping a close eye during this phase is vital, as even a minute too long can turn them from perfect to burnt.
Achieving the Perfect Crunch
Mastering the second bake is necessary for that signature biscotti crunch. After slicing your logs, it's all about how you reintroduce them to the oven. Here's how you can nail it:
- Temperature Precision: Guarantee your oven is preheated to exactly 325°F. An oven thermometer can prevent any guesswork, making this step essential for consistency.
- Timing is Key: Bake the slices for 8-10 minutes on each side. Watching the clock is your best bet to avoid over-baking, which can lead to an unpleasant hardness rather than a delightful crunch.
- Spacing Out: Place your slices at least an inch apart. This allows hot air to circulate freely, guaranteeing each piece dries out evenly, achieving that perfect biscotti texture.
- Cooling Down: Let them cool on the baking sheet for a few minutes before transferring to a cooling rack. This patience pays off by further enhancing the crunchiness as they cool.
Adjusting for Softness or Hardness
You can easily adjust the second bake to tailor the biscotti's texture to your preference for either a softer or harder crunch. If you're aiming for a gentler bite, shorten the baking time slightly. This will preserve a bit more moisture in your biscotti, giving them a softer edge. On the flip side, if it's that classic hard snap you're after, leave them in the oven a bit longer. Confirm your tin is lined with parchment paper or a silicon baking sheet to prevent sticking and to ease removal.
The key ingredients also play a significant role. Incorporating a higher volume of sugar and egg yolks can contribute to a softer texture. Conversely, increasing the tsp of baking powder or using more purpose cups flour can help achieve a firmer bite. Don't forget the flavor enhancers like almond flavor, aromatic citrus zests, or teaspoons of anise seed, which won't directly impact the hardness but will enrich the taste profile.
Flavor Variations
Now that you've mastered the classic almond biscotti, why not mix things up with some new flavors? If you're a chocolate lover, there are countless sweet variations to explore, from dark chocolate chunks to swirls of white chocolate. For those who prefer something less traditional, savory biscotti with ingredients like sun-dried tomatoes or olives might just tickle your fancy.
Classic Almond Biscotti
Let's explore some delicious variations on the classic almond biscotti recipe to keep your taste buds intrigued. Whether you're dipping them in a hot drink or storing them in an airtight container for later, these tweaks will make your biscotti unforgettable. Remember, the right cooking method is essential, and so is understanding the purpose behind each ingredient. For instance, the aforementioned almond adds not just flavor but also a delightful crunch.
Here's how you can shake things up:
- Citrus Zest Magic: Add the zest of an orange or lemon to your dough for a fragrant twist. The bright, tangy notes make each bite sing and truly complement the nutty, toasted almond flavor.
- Herbal Notes: Stir in a teaspoon of finely chopped rosemary or thyme. This unexpected hint of herb elevates the biscotti, turning your coffee break into a decadent experience.
- Whole Wheat Wonder: Swap half of the regular flour with whole wheat for a hearty texture and a rustic look. It's a subtle change that adds a new dimension to the classic taste.
- Nutty Variations: Mix in chopped pistachios or hazelnuts along with the almonds. The different nuts introduce varying textures and tastes, making each bite uniquely satisfying.
Chocolate and Other Sweet Variations
Why not indulge in some chocolatey twists to your biscotti recipe for a sweet surprise? You can start simple by mixing in dark, milk, or white chocolate chips before baking. If you're feeling adventurous, try swirling melted chocolate directly into your dough for a marbled effect that's as stunning as it is delicious.
For those who adore fruit, consider adding dried cherries or cranberries to complement the chocolate. The tartness of the fruit pairs beautifully with the richness of the chocolate, creating a delightful contrast in flavors. Alternatively, you can spice things up with a dash of cinnamon or nutmeg, which enhances the chocolate's deep flavors without overpowering them.
Don't forget about nuts! Toasted hazelnuts or pecans can add a wonderful crunch and nutty flavor that goes perfectly with any chocolate variety. Simply chop them up and fold them into your dough before baking.
Lastly, if you want to truly impress, drizzle your cooled biscotti with a chocolate glaze and sprinkle some sea salt on top. This not only adds a layer of elegance but also brings out the sweetness of the chocolate, making each bite irresistibly balanced.
Savory Biscotti Ideas
While sweet ingredients offer a delightful twist to biscotti, exploring savory options can equally enhance your baking repertoire. You'll find that adding a dash of savory flair can transform your biscotti into a versatile snack that pairs wonderfully with a variety of dishes.
Here's how you can kickstart your savory biscotti journey:
-
Cheese and Herb: Imagine biting into a biscotti bursting with the flavors of aged Parmesan or sharp Cheddar, mingled with fresh herbs like rosemary or thyme. It's a perfect accompaniment to your afternoon tea or a lush wine at dinner.
-
Sun-Dried Tomato and Olive: Picture the tangy taste of sun-dried tomatoes and the briny punch of black olives baked into your biscotti. It's a Mediterranean twist that'll whisk your taste buds off to sunny coasts.
-
Garlic and Onion: Envision a biscotti so aromatic, with the robust flavors of garlic and the sweet, caramelized tones of onion enhancing each crunch. It's ideal for a savory breakfast or as an accompaniment to a hearty soup.
-
Bacon and Black Pepper: Think about the smoky richness of bacon combined with a kick of black pepper. This biscotti could be the star at your next gathering or a bold snack on a lazy Sunday afternoon.
Storage and Shelf Life
Now that you've mastered the art of baking biscotti, let's talk about how you can keep them deliciously crisp. First, you'll need to know the best ways to cool them properly; this guarantees they stay firm and don't get soggy. Next, we'll look into how to maintain their freshness whether you're enjoying them at home or packing them up as thoughtful gifts.
Proper Cooling Methods
After baking, it's important to let your biscotti cool completely on a wire rack to make certain they maintain their crisp texture and extend their shelf: life. Cooling them right prevents the steam from making them soggy, which can happen if they're piled up or stored away too quickly.
Here's why proper cooling is more than just a waiting game:
-
Patience Pays Off: Letting your biscotti cool completely allows the flavors to meld beautifully. Imagine biting into a perfectly crisp, flavor-packed biscotto that snaps delightfully between your teeth!
-
Texture Triumphs: When cooled properly, your biscotti achieve that iconic, crunchy texture. There's nothing like the satisfying crunch that echoes with each bite, is there?
-
Aroma Amplified: As they cool, the aromatic compounds in your biscotti have the chance to develop fully. The scent of freshly baked biscotti can fill your kitchen, tantalizing your senses and building anticipation for that first bite.
-
Longevity Locked In: Cooling on a wire rack guarantees your treats don't become stale or chewy prematurely. It's heartbreaking to see homemade biscotti lose their charm too soon, isn't it?
Maintaining Freshness
To keep your biscotti's delightful crunch and flavor, store them in an airtight container at room temperature. This simple step guarantees they remain as fresh as the day you baked them. Avoid refrigerating your biscotti as the humidity can soften them, robbing you of that satisfying snap!
Once stored properly, you can enjoy your biscotti for up to two weeks. If you've made a large batch, consider freezing some for later. Wrap them individually in plastic wrap and then place them in a freezer-safe bag. They'll last for a couple of months frozen, and you can easily thaw them at room temperature when you're ready for a treat.
Packaging for Gifts
When packaging biscotti as gifts, make certain they're stored in decorative yet airtight containers to maintain their crispness and extend shelf life. Choosing the right packaging not only preserves their quality but also turns your biscotti into a heartfelt gift that shows you care. Here are four tips to guarantee your biscotti gifts are as delightful to receive as they are to eat:
-
Select Clear Containers: Let the beauty of your biscotti shine through! Opt for clear, airtight jars or canisters that showcase your baking skills and the delicious ingredients you've used.
-
Add a Personal Touch: Include a custom label or tag with a sweet note or the baking date. It's a simple gesture that adds a personal flair and makes the gift feel even more special.
-
Use Decorative Ribbons: Tie a colorful ribbon around the container for a festive look. Choose colors that match the season or the recipient's taste for that extra thoughtful touch.
-
Layer with Care: Place a piece of parchment paper between each biscotti layer. This prevents them from sticking together and helps preserve their texture, guaranteeing each bite is as perfect as intended.
Troubleshooting Common Issues
Even the best bakers run into a snag or two, so let's tackle some common biscotti issues you might face. If your dough's crumbly, your edges are charring, or the centers aren't quite done, don't worry—you're not alone. We'll look at each of these problems and show you how to fix them quickly and easily.
Dealing with Crumbly Dough
Crumbly dough often results from insufficient moisture, so you'll need to adjust the liquid ingredients accordingly. When you're mixing up your biscotti dough, it's essential to find that perfect balance where the dough is neither too wet nor too dry. If it starts to fall apart, don't panic! There's a simple fix that can transform your baking experience and save your biscotti from becoming a crumbly mess.
Here are a few tips to help you achieve the ideal dough consistency:
- Add Liquids Slowly: Begin by adding a tablespoon of water or milk at a time until the dough starts to come together. This gradual addition allows you to control the dough's consistency without overdoing it.
- Egg Yolks are Key: Incorporating an extra egg yolk can enrich the dough, providing more moisture that binds the ingredients together.
- Measure Accurately: Make sure that all dry ingredients are measured precisely. Even a little extra flour can lead to dryness.
- Mix Gently: Overmixing can cause the fat to coat the flour excessively, preventing moisture absorption. Mix until just combined for best results.
Preventing Burnt Edges
After mastering the proper dough consistency, you'll also want to make certain your biscotti don't end up with burnt edges during baking. One effective method is to monitor your oven temperature closely. It's easy to assume your oven's accurate, but it's worth checking with an oven thermometer. Even a slight variance can mean the distinction between perfectly crisp and sadly singed.
You should also position your baking sheet in the middle of the oven. This prevents the direct heat of the top or bottom elements from scorching your biscotti. If your oven has hot spots, rotate the baking sheet halfway through the baking time to make sure of even browning.
Another tip? Line your baking sheet with parchment paper or a silicone baking mat. These materials provide a protective layer, reducing the chance of burning the edges. And, don't forget to slice your biscotti evenly. Uneven slices can lead to thinner edges that burn quicker than the thicker centers.
Lastly, keep an eye on the clock. Overbaking is a surefire way to end up with burnt edges. Set a timer, and don't hesitate to pull your biscotti out a minute or two early if they're looking done. Better slightly soft than too crisp!
Fixing Underbaked Centers
If you've pulled your biscotti from the oven only to discover the centers are still underbaked, don't worry; there's a fix for that. You're not alone in this sticky situation, and it's completely fixable with a few tweaks.
Here's what you can do to rescue your biscotti and make sure they're perfectly cooked through:
- Return to the Oven: Simply place them back in the oven. Set the temperature to 300°F and bake for an additional 5-10 minutes. Keep a close eye on them to prevent the edges from burning.
- Slice and Bake Again: If the edges are perfect but the centers need more time, slice the biscotti logs into individual cookies. Lay them flat on the baking sheet and bake for a few more minutes.
- Adjust Your Dough: Next time, consider flattening your dough logs slightly before the first bake. A flatter shape allows heat to penetrate more evenly.
- Check Your Oven Temperature: Sometimes, an inaccurate oven thermostat can be the culprit. Use an oven thermometer to make sure the correct baking temperature.
Serving Suggestions
Now that you've mastered making perfect biscotti, let's talk about how best to serve them. Pairing them with the right beverage can enhance their flavors, whether it's a strong espresso or a sweet dessert wine. And don't forget to get creative with presentation; think beyond the plate and consider serving them in charming jars or as part of a dessert charcuterie board.
Pairing with Beverages
When choosing a beverage to accompany your biscotti, consider the flavors and textures that will complement each other best. You want to enhance, not overpower, the delicate tastes of your homemade treats. Here's how to make each sip as memorable as each bite:
-
Classic Coffee: There's nothing quite like dipping your almond or hazelnut biscotti into a steaming cup of coffee. The robust bitterness of the coffee melds beautifully with the crunchy sweetness of the biscotti, creating a harmonious flavor that'll make your morning feel extra special.
-
Creamy Hot Chocolate: For those chillier days, a mug of rich hot chocolate makes an indulgent partner for your chocolate-dipped biscotti. The creamy texture and deep cocoa flavor wrap around each crunchy bite, offering a comforting, warm embrace.
-
Sparkling Prosecco: Elevate your afternoon by pairing your biscotti with a glass of Prosecco. The light, effervescent bubbles and slight sweetness cut through the biscuit's density, invigorating your palate with every sip.
-
Aromatic Tea: Whether it's a strong black tea or a soothing herbal blend, tea and biscotti are a match made in heaven. The subtle flavors of the tea can highlight nuances in your biscotti, from citrusy notes to spicy undertones.
Creative Serving Ideas
While you've mastered the art of pairing, consider these creative serving ideas to further elevate your biscotti presentation. Why not arrange a biscotti bar? Just like a candy bar, but better, you can display various biscotti flavors along with dips and toppings. Think dark chocolate ganache, white chocolate dips, or even a spiced pumpkin spread for that autumn touch. You'll find guests love the freedom to mix and match!
For a more elegant affair, serve your biscotti as part of a dessert charcuterie board. Pair them with fine cheeses, fresh fruits, and a selection of nuts. This not only looks impressive but also invites a delightful mix of textures and flavors that complement your biscotti.
Don't forget, biscotti are perfect for gifting too. Wrap them up in clear cellophane, tie with a ribbon, and attach a personalized tag. It's a thoughtful and tasty treat that's sure to impress.
Lastly, consider mini biscotti bites. Serve these little treats in a vintage tea cup alongside espresso shots. It's a chic way to end a dinner party or to spice up your afternoon tea.
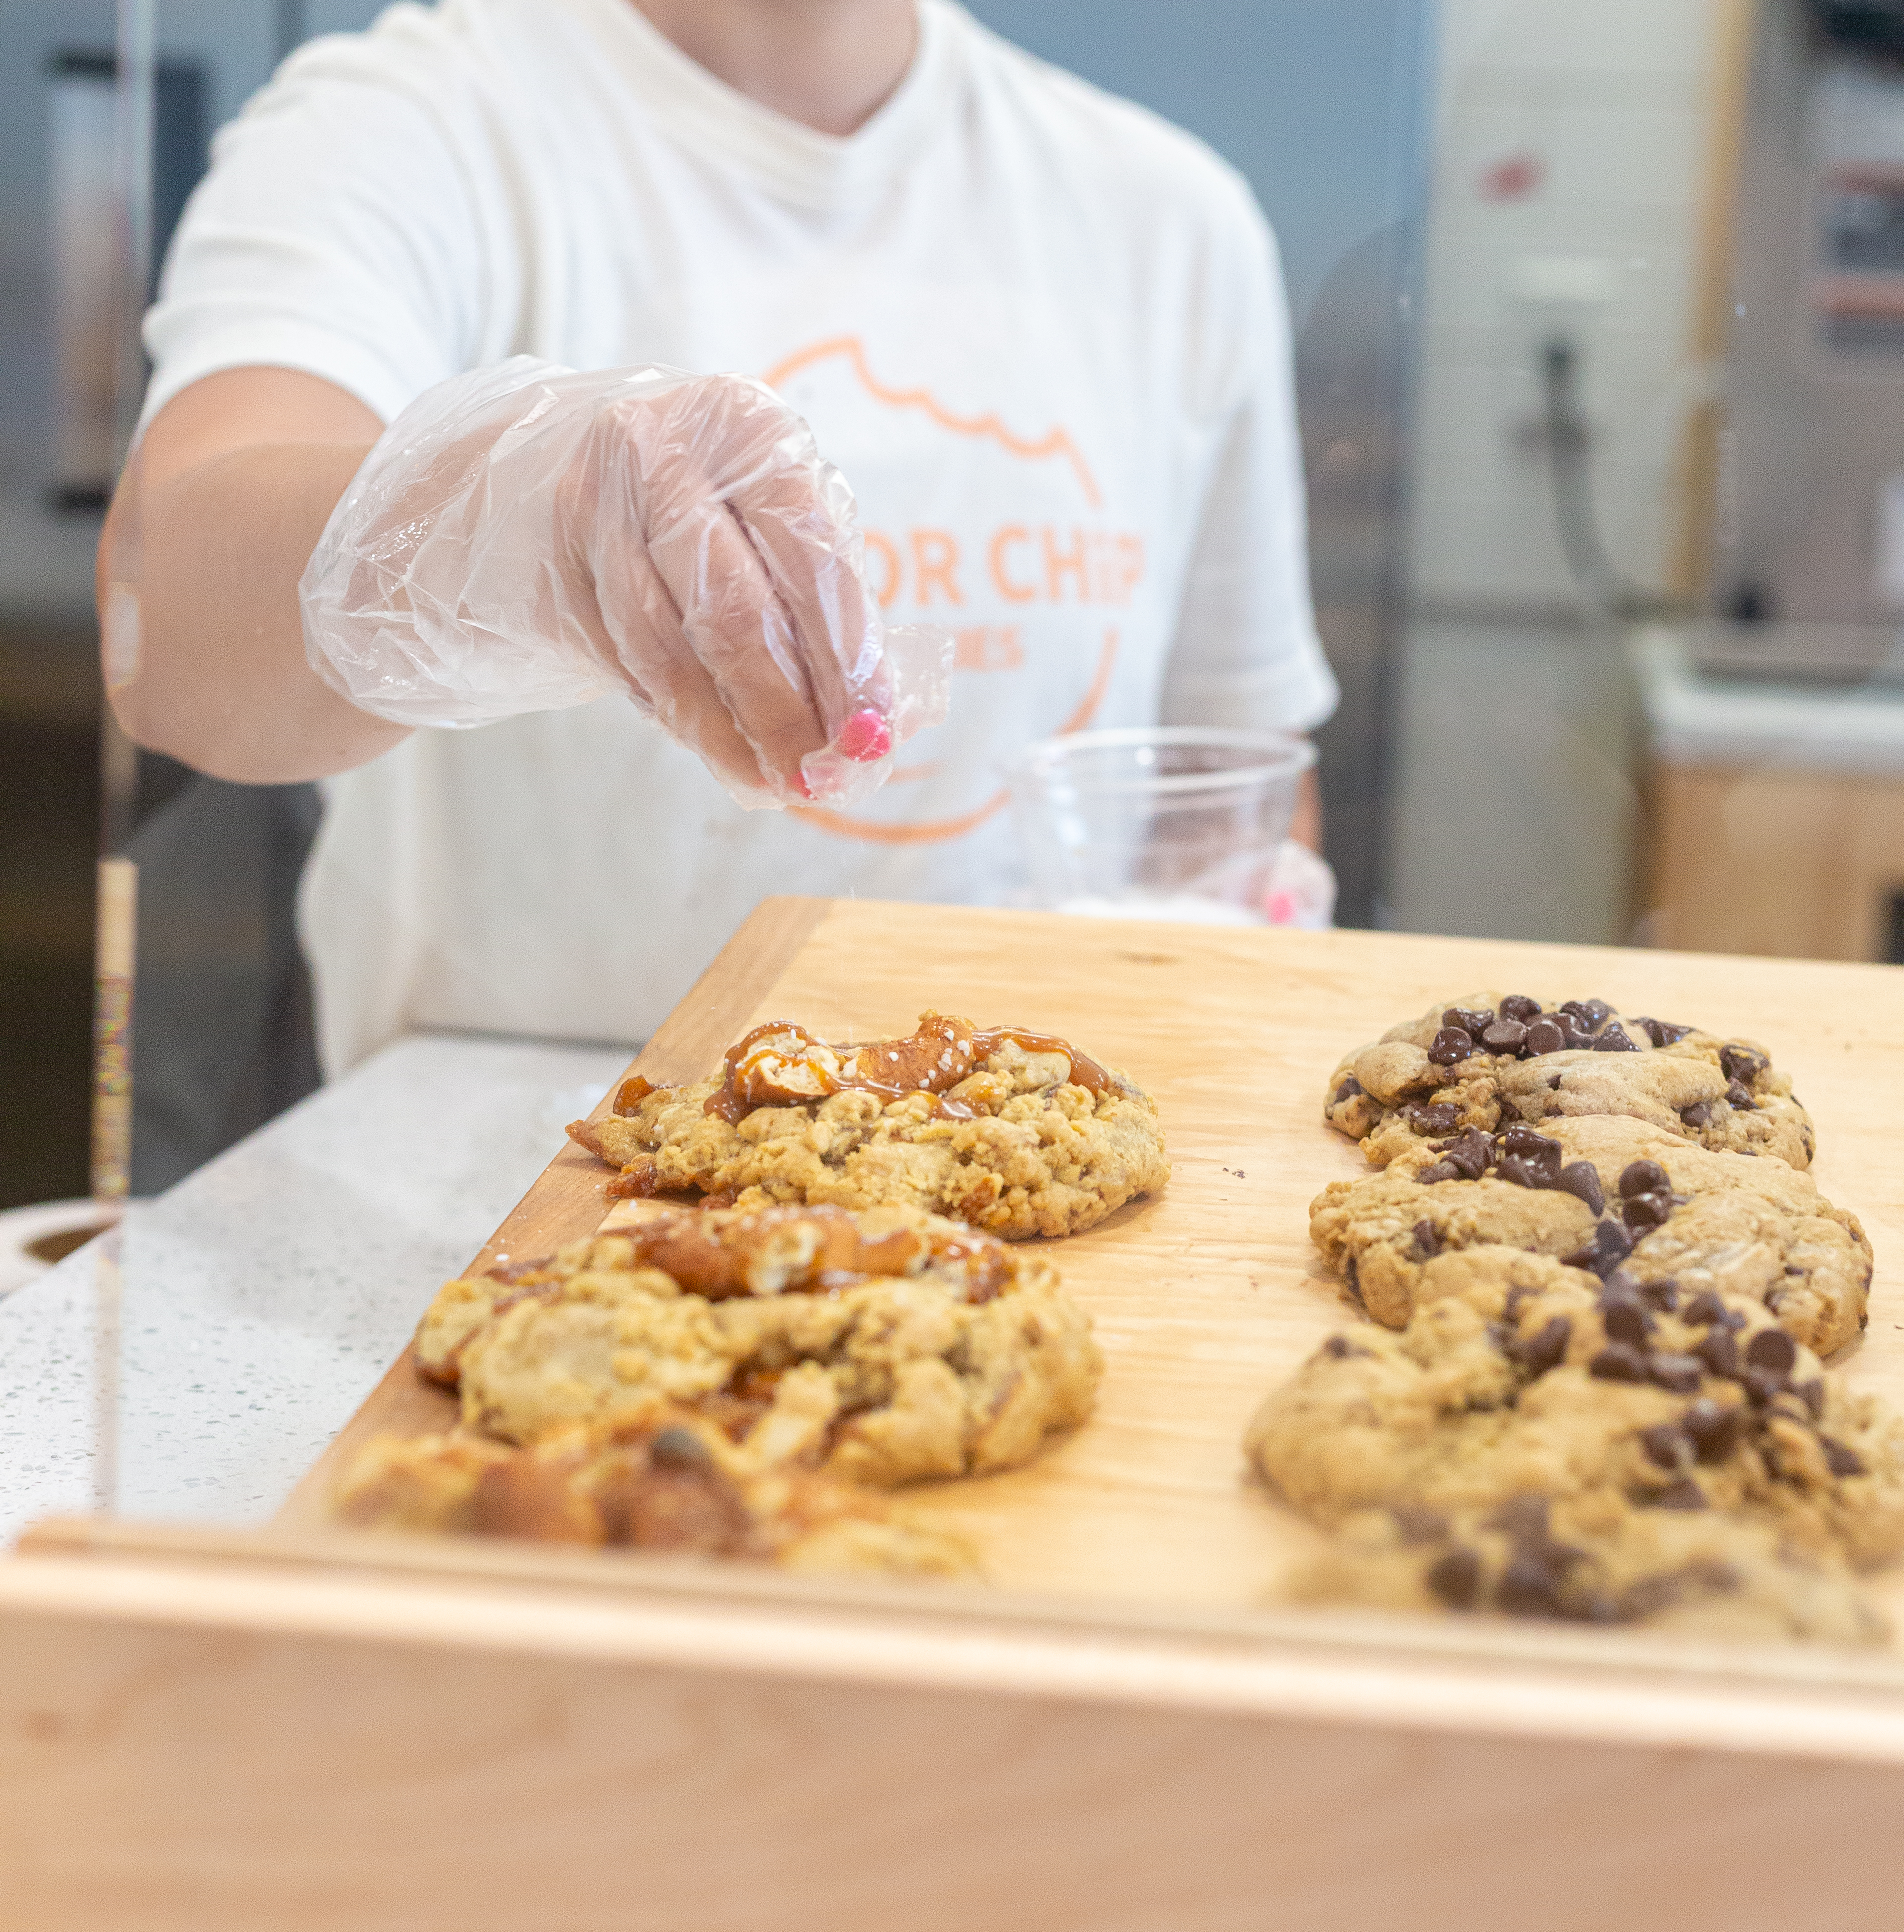
The Taylors and Taylor Chip

Sara and Dougie, a couple united by their shared love for sweets, began their baking journey together in 2015, quickly becoming obsessed with perfecting their recipes. As their relationship deepened, so did their mastery over the art of baking. It wasn't just about cookies; it was about creating moments, memories, and, eventually, a brand that captured their love and passion for each other and for baking.
Imagine, if you will, the joy and challenges that come with baking alongside someone you love. Here's what the Taylors' story teaches us:
-
Patience is Sweet: Just as their relationship took time to blossom, so did their perfect cookie recipe. The process of trial and error in baking can be a profound metaphor for relationships.
-
Shared Goals Unite: Working towards a common aim, like the perfect batch of cookies, can strengthen bonds and foster teamwork.
-
Celebrate Small Victories: Every successful batch was a small celebration of their combined efforts and creativity.
-
Love is the Main Ingredient: Above all, their story shows that when you mix love into your endeavors, the results are often extraordinary.
The Taylor Chip Pink Velvet Cheesecake Cookie

You'll fall head over heels for the Taylor Chip Pink Velvet Cheesecake Cookie, a special treat crafted for Valentine's Day and featuring natural, wholesome ingredients. Imagine biting into a cookie where thick swirls of cream cheese meet generous handfuls of white chocolate chips, all topped with a naturally dyed pink cream cheese glaze. It's not just a cookie; it's a Valentine's Day celebration in every bite.
This cookie is baked with love in Lancaster, Pennsylvania, using only the finest local ingredients. The dough is made from unbleached enriched wheat flour, mixed with both granulated and light brown sugar, and local butter that melts in your mouth. The magic doesn't stop there; local free-range, soy-free eggs and freshly extracted vanilla add a touch of traditional goodness.
And don't worry about freshness. These cookies are baked and shipped the same day—always by express shipping to guarantee they arrive as perfect as they leave the oven. It's about experiencing maximum freshness and flavor, making it well worth sharing with your special someone.
Frequently Asked Questions
Can I Use Gluten-Free Flour for Making Biscotti?
Yes, you can definitely use gluten-free flour to make biscotti! Just make sure to choose a blend that's designed for baking, as it'll likely include xanthan gum or another binder to help with the texture. You might need to tweak the moisture content a bit, since gluten-free flours absorb liquids differently. Don't worry if the dough feels a bit different; you'll still end up with delicious, crunchy biscotti.
Are Biscotti Vegan-Friendly?
Biscotti aren't typically vegan-friendly because they usually contain eggs and sometimes butter. However, you can make them vegan with some tweaks. Substitute the eggs with flaxseed meal or ripe bananas, and use vegan butter or coconut oil instead of regular butter. It's all about swapping out the non-vegan ingredients for plant-based alternatives. So, yes, you can enjoy vegan biscotti with just a few adjustments to the traditional recipe!
How Do I Make Biscotti Less Crunchy?
To make your biscotti less crunchy, you can shorten the baking time during the second bake. Typically, biscotti are baked twice to achieve that hard texture. If you cut the second bake by a few minutes, they'll retain more moisture and be less crispy. Also, adding a bit more butter or oil to your dough can help soften the final product. Experiment a bit to find the perfect balance for your taste!
Can Biscotti Dough Be Made in Advance?
Yes, you can definitely make biscotti dough in advance! It's a great way to split the baking process into more manageable chunks. Simply prepare your dough, wrap it tightly in plastic wrap, and refrigerate it. You can keep it in the fridge for up to a week. When you're ready, just slice and bake as usual. This makes it super convenient, especially if you're planning to serve them fresh for an occasion.
Is It Possible to Freeze Baked Biscotti?
Absolutely, you can freeze baked biscotti! Once they're cooled, wrap them tightly in plastic wrap and then foil to keep them fresh. They'll last in the freezer for up to three months. When you're ready to enjoy them, just unwrap and let them thaw at room temperature. They'll retain their delicious crunch, making them perfect for dipping in your coffee or tea anytime you crave a sweet, crispy treat!
Conclusion
Now you've got the scoop on crafting the perfect biscotti, from selecting high-quality ingredients to mastering the double-bake. Remember, don't sweat it if your first batch isn't perfect; baking is as much about the journey as the delicious destination. So, keep experimenting, enjoy the crunch, and maybe even dunk your next biscotti in your favorite coffee. Happy baking!


