
When we talk about baking the perfect sugar cookies, it's essential to focus on the basics: precise measurements, quality ingredients, and the right technique. Let's admit, we've all faced that moment where our cookies spread too much or didn't hold their shape. What we've found is that the temperature of the dough plays a significant role, and chilling it properly can make a world of difference. But there's another tip that might just be the game changer in achieving that ideal texture and consistency. Stick around as we explore how a simple adjustment can dramatically enhance your next batch of sugar cookies.
Key Takeaways
- Chill dough for 1-2 hours to maintain shape and reduce stickiness for easier cutting.
- Use unsalted butter at room temperature for fluffier, well-textured cookies.
- Sift dry ingredients and incorporate gradually to avoid overmixing and ensure even distribution.
- Roll dough evenly and use sharp, correct-size cookie cutters for uniform cookies.
- Preheat oven and bake until edges are light brown for perfectly cooked sugar cookies.
Ingredient Selection
When we talk about creating the perfect sugar cookies, selecting the right ingredients is essential. We'll explore how choosing the right flour impacts the texture, why quality butter enhances flavor, and what sugar options best suit your taste. Each component plays an important role in the final outcome of our cookies.

Choose Your Own Delightfully Perfect Cookies.
With almost 30 flavors to choose from, you can make your box as unique as you are.
Choosing the Right Flour
Selecting the right flour is essential for achieving the perfect texture in your sugar cookies. We've found that all-purpose flour is your best bet for a homemade sugar cookie recipe. Its balanced protein content helps in forming a dough that's not too tough, yet stable enough to handle rolling out.
When we mix our dry ingredients, we always sift the all-purpose flour with baking powder. This guarantees our flour mixture is free from lumps and evenly incorporates the leavening agent, giving a consistent rise to each batch of dough. It's important to keep the sugar cookie dough cold; this way, the dough pieces don't spread too much while baking and maintain their delightful shape.
For those special occasions when you need perfectly rolled-out dough, maintaining the right flour consistency can make or break your effort. If the dough is too sticky, a little more flour can be added, but remember, it's all about balance. Adding too much can make your cookies tough.
We always recommend chilling the batch of dough before rolling it out. This step helps in handling the dough better and results in beautifully shaped, tender cookies.
The Importance of Quality Butter
Selecting high-quality butter is essential for creating flavorful and tender sugar cookies. When we're baking, especially with recipes as straightforward as cookie cutter sugar cookies, every simple ingredient must be excellent. Butter, as a key ingredient, profoundly impacts the texture and flavor of our baked cookies. We always opt for unsalted butter to control the sodium content precisely, making sure that the sweet flavor shines through.
The temperature of the butter also plays a significant role. We use cold butter, cut into small pieces, which helps in creating those flaky layers as it melts in the oven. It's the secret to achieving tender cookies rather than tough cookies. As the cold butter melts, it releases steam and creates pockets within the cookie dough, which contributes to a softer texture.
Incorporating the butter properly is just as important. We make sure it's well integrated with other ingredients without overworking the dough. Over-mixing can lead to developing the gluten in the flour, making the cookies tough. By treating butter correctly and valuing its role in our recipes, we can guarantee our sugar cookies will be as soft and delicious as they are meant to be.
Sugar Options for Sugar Cookies
What type of sugar should we use to ensure our sugar cookies taste exceptional and have the perfect texture? Choosing the right sugar is essential for achieving the best results in both flavor and texture. Here's what we've found works best in sugar cookie recipes:
-
Granulated Sugar: The most common choice, granulated sugar, helps create a delightful crumbly texture. It's perfect for ensuring your cookies spread just right when they bake into those delicious balls of dough.
-
Colored Sugar: Want to add a pop of color to your perfect sugar cookies, especially those extra cookies you bake for festive occasions? Rolling your cookie dough in colored sugar before baking not only adds visual appeal but also a slight crunch.
-
Confectioner's Sugar: For soft sugar cookies or frosted sugar cookies, incorporating confectioner's sugar can be a game-changer. It dissolves quickly and evenly, ensuring a tender texture and is also excellent for making smooth icing for any cookie with icing.
We've experimented with these sugars in our kitchens, and each brings its unique flair to the table, enhancing the taste and appearance of our sugar cookies. Remember, the type of sugar can transform a simple cookie recipe into a standout treat that begs for just one more.
Mixing Techniques
As we explore mixing techniques, we'll first focus on how to perfectly cream butter and sugar, which is essential for achieving the right texture. Next, we'll cover the best methods for incorporating dry ingredients to guarantee even distribution without clumping. Finally, we'll discuss how to avoid overmixing, which can lead to tough cookies.
Creaming Butter and Sugar
We'll begin by creaming the butter and sugar together, an essential step for achieving fluffy and light sugar cookies. To do this, we're using an electric mixer fitted with a paddle attachment, which helps to evenly mix these foundational wet ingredients without overworking the dough. The key time is vital; typically, we beat them until the color lightens and the texture becomes airy, which usually takes about three to five minutes.
Here are a few tips to make sure your cookie dough base is perfect every time:
- Room Temperature Butter: Make sure your butter is soft but not melted. It integrates better with the sugar, creating small pockets of air that will help your cookies rise beautifully.
- Gradual Addition of Sugar: Add your sugar gradually while mixing at a medium speed. This helps prevent the mixture from clumping and ensures a smoother texture.
- Scrape the Bowl: Occasionally, stop the mixer and scrape down the sides of the bowl. This step guarantees all the ingredients are well incorporated, and you don't end up with unevenly mixed cookie dough.
Once everything's well-blended, we'll stir in a teaspoon of vanilla extract to add that irresistible flavor to our batch of homemade sugar cookies. Remember, the quality of your vanilla can make a big difference!
Incorporating Dry Ingredients
Now that our butter and sugar are creamed together, let's focus on adding and mixing the dry ingredients. To begin, we'll need to measure out our dry ingredients according to our favorite recipe for sugar cookies. Typically, this includes flour, teaspoons of baking powder, and a pinch of salt.
When combining these, it's important to sift them together first. This guarantees that the baking powder, which helps our cookies rise, is evenly distributed throughout the flour. Once sifted, we gradually add these dry elements to our creamed sugar mixture. We'll do this in parts to maintain control over the texture and to make sure that each addition is fully integrated before adding more.
As we mix, we'll see the actual dough start to form. It's important that we stop when it reaches the consistency of dry sugar cookie dough, which should be pliable but not sticky. From here, we can take sections of dough and gently roll them into balls of cookie dough. These balls are then ready to be placed on our baking sheet.
Avoiding Overmixing
To prevent tough cookies, it's vital we avoid overmixing the dough after adding the dry ingredients. When we're aiming for perfect sugar cookies, the texture of the dough is as important as the flavor. Overmixing can develop the gluten in the flour excessively, leading to cookies that are more like bread than that melt-in-your-mouth treat we all crave.
- Mix until just combined: As soon as you see no more flour streaks, stop mixing. This will help keep your cookies tender.
- Use low speed on your mixer: If you're using a stand mixer or a hand mixer, keep it on low speed. This minimizes the amount of air incorporated into the dough, which can affect the texture and baking time.
- Manually finish mixing: Once most of the dry ingredients are incorporated, it's often better to finish mixing by hand with a spatula. This approach prevents overworking the dough.
After mixing, it's time to roll out your batch of sugar cookies using a rolling pin, and then use a cookie cutter for those perfect shapes. Place the raw cookies on prepared baking sheets lined with parchment paper. This ensures they don't stick and allows for even baking. Remember, baking cookies is not just about the end product; it's the whole process that should bring joy.
Chilling the Dough
Now, let's discuss why chilling the dough is vital for shaping and baking our sugar cookies. We'll explore the advantages of this step and determine the best chilling times to enhance texture and flavor. Understanding these elements is key to achieving the perfect batch every time.
Why Chilling Matters
Chilling the dough is essential for preventing your sugar cookies from spreading too much during baking. This significant step guarantees that the fats in the dough firm up, which helps maintain the cookie shape when exposed to the oven's heat. We've all experienced the disappointment of pulling misshapen cookies out of the oven, and chilling is a simple way to avoid this.
Here are some key reasons why we always chill our dough:
- Maintains Cookie Shape: Using your favorite cookie cutters on well-chilled dough helps keep the edges crisp and the details intact. Nobody wants a blob when they were aiming for a star!
- Reduces Stickiness: Chilling turns sticky dough into a firm, workable material. This makes it easier to roll out and handle, especially when we're re-rolling scraps of dough.
- Improves Texture: For those of us who love thicker, chewier cookies, chilling is the way to go. It allows the dough to hydrate evenly, resulting in a more uniform texture after baking.
Optimal Chilling Times
How long should we chill our sugar cookie dough to achieve the best results? The answer can greatly influence the quality of our cookies before baking. Ideally, we're looking at chilling times of 1-2 hours. This duration allows the fats in the dough to solidify, leading to cookies that hold their shape better when baked.
After mixing our dough, we should place it between sheets of parchment paper on a flat surface. This setup ensures it remains evenly thick. We then transfer the entire sheet to a baking sheet or a floured silicone baking mat, which helps in handling the dough without it sticking.
Once properly positioned, the dough should be covered with another layer of parchment or wrapped in plastic to prevent drying out. We then put it in the fridge on the flat baking sheet. If we're not planning to bake soon, transferring the wrapped dough to a freezer-friendly container or an airtight container keeps it fresh and ready for unexpected baking sessions.
This process isn't just an important step in our baking guide to make sure those sugar cookies come out delightful every time. So, let's remember, a little patience in chilling significantly elevates our cookie game.
Rolling and Cutting
Now that our dough is nicely chilled, let's move on to rolling and cutting, which are essential for perfect sugar cookies. We'll discuss how to achieve the right thickness, use cookie cutters effectively, and prevent the dough from sticking. These steps will guarantee our cookies are not only delicious but also beautifully shaped.
Rolling to the Right Thickness
To achieve uniformly baked sugar cookies, it's crucial to roll the dough to an even thickness. This guarantees that each cookie bakes at the same rate, resulting in uniform evenly-shaped cookies with those desired crisp edges. We've found that the best way to accomplish this is by using silicone baking mats or a piece of parchment paper, which prevents the dough from sticking and guarantees smooth rolling.
Here are some key points to keep in mind when rolling to the right thickness:
- Use Guides: Place two wooden dowels or thick rulers on either side of your dough. This helps maintain an even thickness across the entire baking sheet.
- Keep It Cool: If the dough becomes too warm, it can stick or become too difficult to handle. Keep your 2nd dough piece refrigerated while you roll and cut the first batch.
- Roll Evenly: Start from the center of the dough and roll outwards. This technique prevents the dough from becoming uneven and ensures that all your perfect sugar cookies will bake consistently.
Lastly, always make sure your sheet with parchment paper is ready to receive the cut dough, as transferring it neatly contributes to maintaining the shape and thickness of your cookies.
Cookie Cutter Strategies
Once you've rolled your dough to the perfect thickness, choosing and using the right cookie cutters is the next step to creating beautifully shaped sugar cookies. We want our cut-out sugar cookies to have sharp edges and a uniform appearance. To achieve this, it's important to implement effective cookie cutter strategies.
Firstly, make sure your cookie cutters are sharp and the correct size to guarantee evenly-shaped cookies. This not only affects their aesthetic but also ensures consistent bake time, which is key for perfect results. If you're aiming for 3-1/4" round cookies, you can expect to get about 24 3-4 inch cookies from a standard batch of dough. For those preferring smaller treats, 36 two-inch cookies are typically achievable.
When cutting, press down firmly and wiggle the cutter slightly to make a clean cut. Lift it directly up without twisting. Arrange the cut cookies on a sheet of parchment paper on your baking tray. This setup helps in handling the dough easily and also in achieving that golden hue on the bottom without burning. Remember, the distance between cookies affects the heat circulation, so spacing them correctly is essential for uniform baking.
Preventing Sticking
We'll tackle the common challenge of dough sticking during rolling and cutting by exploring effective techniques and tools. Achieving the perfect sugar cookie often starts long before the cook time; it begins in the prep phase. Guaranteeing your dough is manageable and won't stick can truly make a difference. Here's how we keep it smooth and even:
- Temperature Ingredients: Always start with cold butter and eggs. This might seem minor, but cold ingredients help prevent the dough from becoming too sticky. If your dough does warm up and start sticking, don't hesitate to pop it back in the fridge.
- Wax Paper: Roll your dough between two sheets of wax paper. This not only minimizes the mess but also means you won't need to add extra flour, which can affect the texture and taste of your sugar cookies.
- Proper Flouring: If you prefer the traditional method, lightly flour your surface, rolling pin, and cookie cutters. This helps in easy handling and precise cutting without altering the intended texture of your frosted or un-iced cookies.
These sugar cookie tips guarantee that your baking soda works effectively, and you achieve that coveted balance where your thinner icing sits beautifully atop without seeping into the cookies.
Baking Process

Now that we've prepared our cookie dough and cut out beautiful shapes, let's turn our attention to the baking process itself. We'll need to focus on three key aspects: preheating and oven temperature, proper baking times, and recognizing signs of doneness. Ensuring we get these right will help us achieve perfectly baked sugar cookies every time.
Preheating and Oven Temperature
Let's preheat the oven to the right temperature before baking to guarantee our sugar cookies turn out perfectly. Ensuring the oven is properly preheated is vital to achieve those perfect cookies everyone loves. If we skip this step, we might end up with unevenly baked cookies, which can affect their texture and taste.
Here are a few reasons why the right preheating and oven temperature are essential:
- Consistent Cooking: When the oven reaches the desired temperature before we place our cookies in, it helps in cooking them evenly. This means no more raw middles or overly crisp edges!
- Texture Perfection: Depending on whether we want a softer or chewier cookie, controlling the oven temperature is key. A slightly lower temperature might be the secret to that chewier cookie we're aiming for.
- Preparation for Immediate Baking: Having the oven preheated means we're ready to bake the moment our dough is ready. This keeps the cookies in air for less time, which can prevent them from becoming too dry or tough.
Proper Baking Times
Proper baking times are essential to guarantee our sugar cookies come out just right. Generally, sized cookies about two to three inches in diameter should bake for about 10-15 minutes. If you're dealing with larger cookies, they might need a few extra minutes in the oven to make sure they're cooked evenly throughout.
Once we've nailed the baking time, it's vital to let our cookies cool for about 30-60 minutes before we start decorating. This cooling period ensures that the simple cookie icing sets properly and doesn't melt off the sides. For those of us who love getting creative, using bags of icing for detailed designs can turn a beautiful sugar cookie into a masterpiece.
But let's not forget about flood icing. This technique, often known as flooding icing, involves creating a smooth, even layer of icing that completely covers the surface of the cookie. It requires a slightly thinner consistency than the icing used for outlining. Patience is key here as well; we must allow the flooding icing to set completely, which can take several hours, depending on the thickness and environmental factors. This step is pivotal for achieving that pristine, glossy finish we all adore on a beautifully decorated sugar cookie.
Signs of Doneness
We often check the edges of our sugar cookies for a light golden color, a reliable indicator that they're done baking. But understanding the signs of doneness goes beyond just eyeing the color. After all, we want to make sure our cookies are the perfect canvas for that royal icing recipe we've mastered.
When it comes to ensuring our sugar cookies are just right, here are a few additional tips we follow:
- Surface Texture: The cookies should be firm on top. If you gently press the surface and it springs back, it's a good sign they're ready.
- Bottom Check: Lift a cookie slightly using a spatula; the bottom should be light brown, not dark. Overbaked cookies won't handle the delicate process of basic piping and intricate designs well.
- Timing and Oven Hot Spots: We always set our timer a few minutes less than the recipe suggests, checking them early to account for oven hot spots which can lead to uneven baking.
Once our cookies display these signs of doneness, they're ready to cool and then decorate. Achieving the right royal icing consistency, vibrant colors, and beautiful decorations starts with perfectly baked cookies. We use squeeze bottles and piping tips for precision, following step instructions to bring our creative visions to life!
Cooling and Storing
Once we've baked our sugar cookies, it's important we let them cool properly to maintain their delightful texture. We'll start by cooling them on the baking sheet for a few minutes, then we'll transfer them to wire racks for complete cooling. After that, we'll explore the best storage methods to keep them fresh and delicious.
Cooling on the Baking Sheet
Letting your sugar cookies cool on the baking sheet for a few minutes helps them set properly before transferring to a cooling rack. We've all been there, excited to finish our baking masterpiece, but patience here is vital. Cooling on the baking sheet guarantees that the cookies maintain their shape and don't fall apart when moved.
When we think about decorating our cookies, the right setup is as important as the decorating itself. Here's why keeping those cookies on the sheet a bit longer can make a big difference, especially when you're planning to use delicate decorations like royal icing or chocolate buttercream:
- Stability for Decorating: A slightly warm cookie can better absorb gel food coloring and help the meringue powder in royal icing adhere smoothly.
- Enhanced Flavor Development: The residual heat allows vanilla flavors from that teaspoon of pure vanilla extract in your dough to mature, enriching the final taste.
- Prevents Breaking: Moving cookies too soon could lead to cracks or breaks. Allowing them to cool gradually on the sheet gives the structure time to firm up.
Transferring to Wire Racks
After a few minutes of cooling on the baking sheet, it's time to move the sugar cookies to wire racks for further cooling and storage. Letting them sit for just 1-2 minutes on the sheet helps them set without becoming too crispy. As we transfer them, it's important to handle each cookie gently to maintain their perfect shape.
Using a spatula, we make sure that the cookies don't break. Once on the wire racks, they'll cool evenly from all sides, which is vital for achieving that delightful texture we're all after. This step also prevents the bottoms from becoming soggy, a common mishap when cookies linger too long on a hot baking sheet.
Now, let's talk about tweaking the recipe for those who adore a richer taste. Adding an extra egg yolk or a teaspoon of almond extract can transform your standard batch. These are the secret ingredients for a moister texture and a lighter flavor, respectively. For a chocolate version, simply add some cocoa powder found at most grocery stores.
Storage Methods for Freshness
We'll now explore effective storage methods to keep your sugar cookies fresh and delicious. After cooling the cookies on a wire rack, it's important to store them properly to maintain their texture and taste. Here's how we can make sure they stay as fresh as the day they were baked:
-
Airtight Containers: Seal them in airtight containers. This prevents air from drying them out and helps maintain their softness. If you've got different flavored or decorated cookies, consider separating them to avoid the flavors blending.
-
Room Temperature: Keep the containers at room temperature in a cool, dry place. Heat or moisture can lead to soggy cookies or cause them to spoil faster.
-
Parchment Paper Layers: Stack cookies with a piece of parchment paper between each layer. This prevents them from sticking together or damaging the icing and decorations.
These simple steps will extend the life of your sugar cookies, making sure they're just as enjoyable days later. It's also worth noting that while freezing can preserve them longer, it might alter their texture, so it's best used when you need to store them beyond a week.
Decorating Techniques
Now that we've prepped our cookies, let's explore some fun decorating techniques. We'll start with the basics of royal icing, from achieving the perfect consistency to mastering the art of flooding and piping. Then, we'll look at some creative alternatives for those who want to try something a little different.
Royal Icing Basics
Mastering royal icing is key to elevating your sugar cookies from simple to spectacular. We've gathered some basics to guarantee you're well-equipped to start your decorating journey with confidence. Royal icing, with its smooth, hard-drying finish, offers a pristine surface for further embellishments and a professional touch to your homemade treats.
Before diving into the intricacies of decorating, let's make sure you've got the foundation down:
- Consistency is Essential: Achieving the right consistency is paramount. The icing should be thick enough to hold its shape, yet fluid enough to spread smoothly. This balance is crucial for the best results.
- Mixing Matters: When preparing your royal icing, start by beating the egg whites until frothy before gradually adding powdered sugar. A dash of lemon juice or cream of tartar can stabilize the mixture, enhancing its texture and sheen.
- Coloring Tips: If you're planning to use colors, gel-based food coloring is your best bet. It's vibrant and won't alter the consistency of your icing like liquid dyes can.
Flooding and Piping Methods
Let's explore the techniques of flooding and piping, vital for adding intricate details to your sugar cookies. Flooding is the method where we fill the top of each cookie with a thin, smooth layer of royal icing. First, we'll outline the shape using a thicker icing to create a barrier. Then, we'll thin out some royal icing with a few drops of water until it reaches a honey-like consistency. This can be gently poured or spooned onto the cookie and spread within the outlines using a toothpick or a small spatool.
Piping, on the other hand, involves using a thicker consistency of royal icing to create designs, lines, and borders. We'll fit a piping bag with a small round tip and carefully trace or draw designs on the flooded cookie surface. This method requires a steady hand and a bit of patience to master intricate designs.
Both techniques allow us to customize our cookies with various colors by adding food coloring to the icing. Remember to let the flooded base dry slightly before piping on top to secure clean, crisp lines that don't bleed into each other. With practice, we'll achieve beautiful, professional-looking sugar cookies every time!
Alternative Decorating Ideas
We can also explore other creative ways to decorate our sugar cookies beyond traditional flooding and piping. Let's delve into some fun and unique techniques that'll make our cookies stand out at any gathering!
-
Edible Markers: We can use edible markers to draw or write directly on the cookies after they've cooled. This is a fantastic way for kids to get involved or to add personalized messages for special occasions.
-
Fondant Cut-Outs: Rolling out fondant and using the same cookie cutters we used for our cookies guarantees perfectly matched shapes. We can then decorate these fondant pieces with edible glitter, food coloring, or even tiny candies before applying them to the cookies with a dab of icing.
-
Sandwich Cookies: Why not double the delight? We can spread a layer of jam, chocolate ganache, or buttercream between two cookies. It's not only an alternative way to add flavor but also turns our simple sugar cookies into decadent treats.
These methods don't just add variety; they make the decorating process a whole lot more exciting. So, let's get creative and give these ideas a try the next time we bake!
Troubleshooting Common Issues
Even the best of us run into issues when baking sugar cookies. We'll cover how to prevent your cookies from spreading too much, what to do if they turn out tough or dry, and how to achieve even browning. These tips will help you troubleshoot common problems and make sure your cookies come out perfect every time.
Dealing with Spread Cookies
Many bakers face the frustrating issue of cookies spreading too much during baking. It's disheartening to watch your beautifully shaped dough turn into flat, misshapen discs as soon as they heat up. We've all been there, and luckily, there are several straightforward fixes to prevent this from happening.
Understanding the science behind why cookies spread can help us tackle the problem effectively. Here are a few tips we've gathered to keep your sugar cookies in shape:
- Chill Your Dough: Always refrigerate the cookie dough for at least an hour before baking. This solidifies the fat in the cookies, which slows down the spread during baking.
- Check Your Baking Sheet: Use a light-colored baking sheet if possible, as darker sheets tend to heat up more quickly, causing the cookies to spread faster.
- Measure Ingredients Precisely: Too much sugar or butter can cause your cookies to spread too much. Make sure you're measuring your ingredients accurately to avoid adding too much of these spread-inducing components.
Fixing Tough or Dry Cookies
While preventing cookies from spreading is important, addressing the issue of tough or dry cookies is just as necessary for ensuring your sugar cookies are delightful and tender. If you've ended up with cookies that are less than perfect, don't worry—we've got the fixes.
Firstly, tough cookies often result from over-mixing the dough. Once you add flour, mix just until it's incorporated. Overworking the dough develops the gluten too much, leading to a tougher cookie. If you've already made this mistake, try adding a bit of extra moisture with milk or an egg yolk when you re-roll the dough.
For dry cookies, the issue might be too much flour or baking them too long. Always use the spoon-and-level method for measuring flour—scooping directly with the measuring cup compacts the flour, leading to dry, dense cookies. Also, make sure to check your cookies a minute or two before the timer goes off. Every oven is different, and yours might run hotter than you think.
Implementing these tips should give you softer, more tender cookies. Remember, it's all about balancing the ingredients and handling them with care. Happy baking!
Addressing Uneven Browning
We'll now tackle the common problem of uneven browning in sugar cookies. This issue can make our treats look less appealing and affect their texture. Here's how we can make sure that our cookies brown beautifully and evenly.
Firstly, it's important to check the placement of our baking sheets in the oven. Uneven heat distribution can lead to patches where cookies either burn or undercook. We should rotate the baking sheet halfway through the baking time to promote even browning. Additionally, using light-colored or shiny baking sheets can prevent excessive browning on the bottoms.
Consistency is key:
- Roll the dough evenly: Make sure that all cookies are the same thickness. Uneven thickness can cause them to bake at different rates.
- Space them properly: Crowded baking sheets can create steam and cause uneven cooking. Space cookies evenly to allow proper heat circulation.
- Oven calibration: Sometimes, ovens aren't calibrated correctly. An oven thermometer can help us verify the temperature is accurate, preventing those hot spots that cause uneven baking.
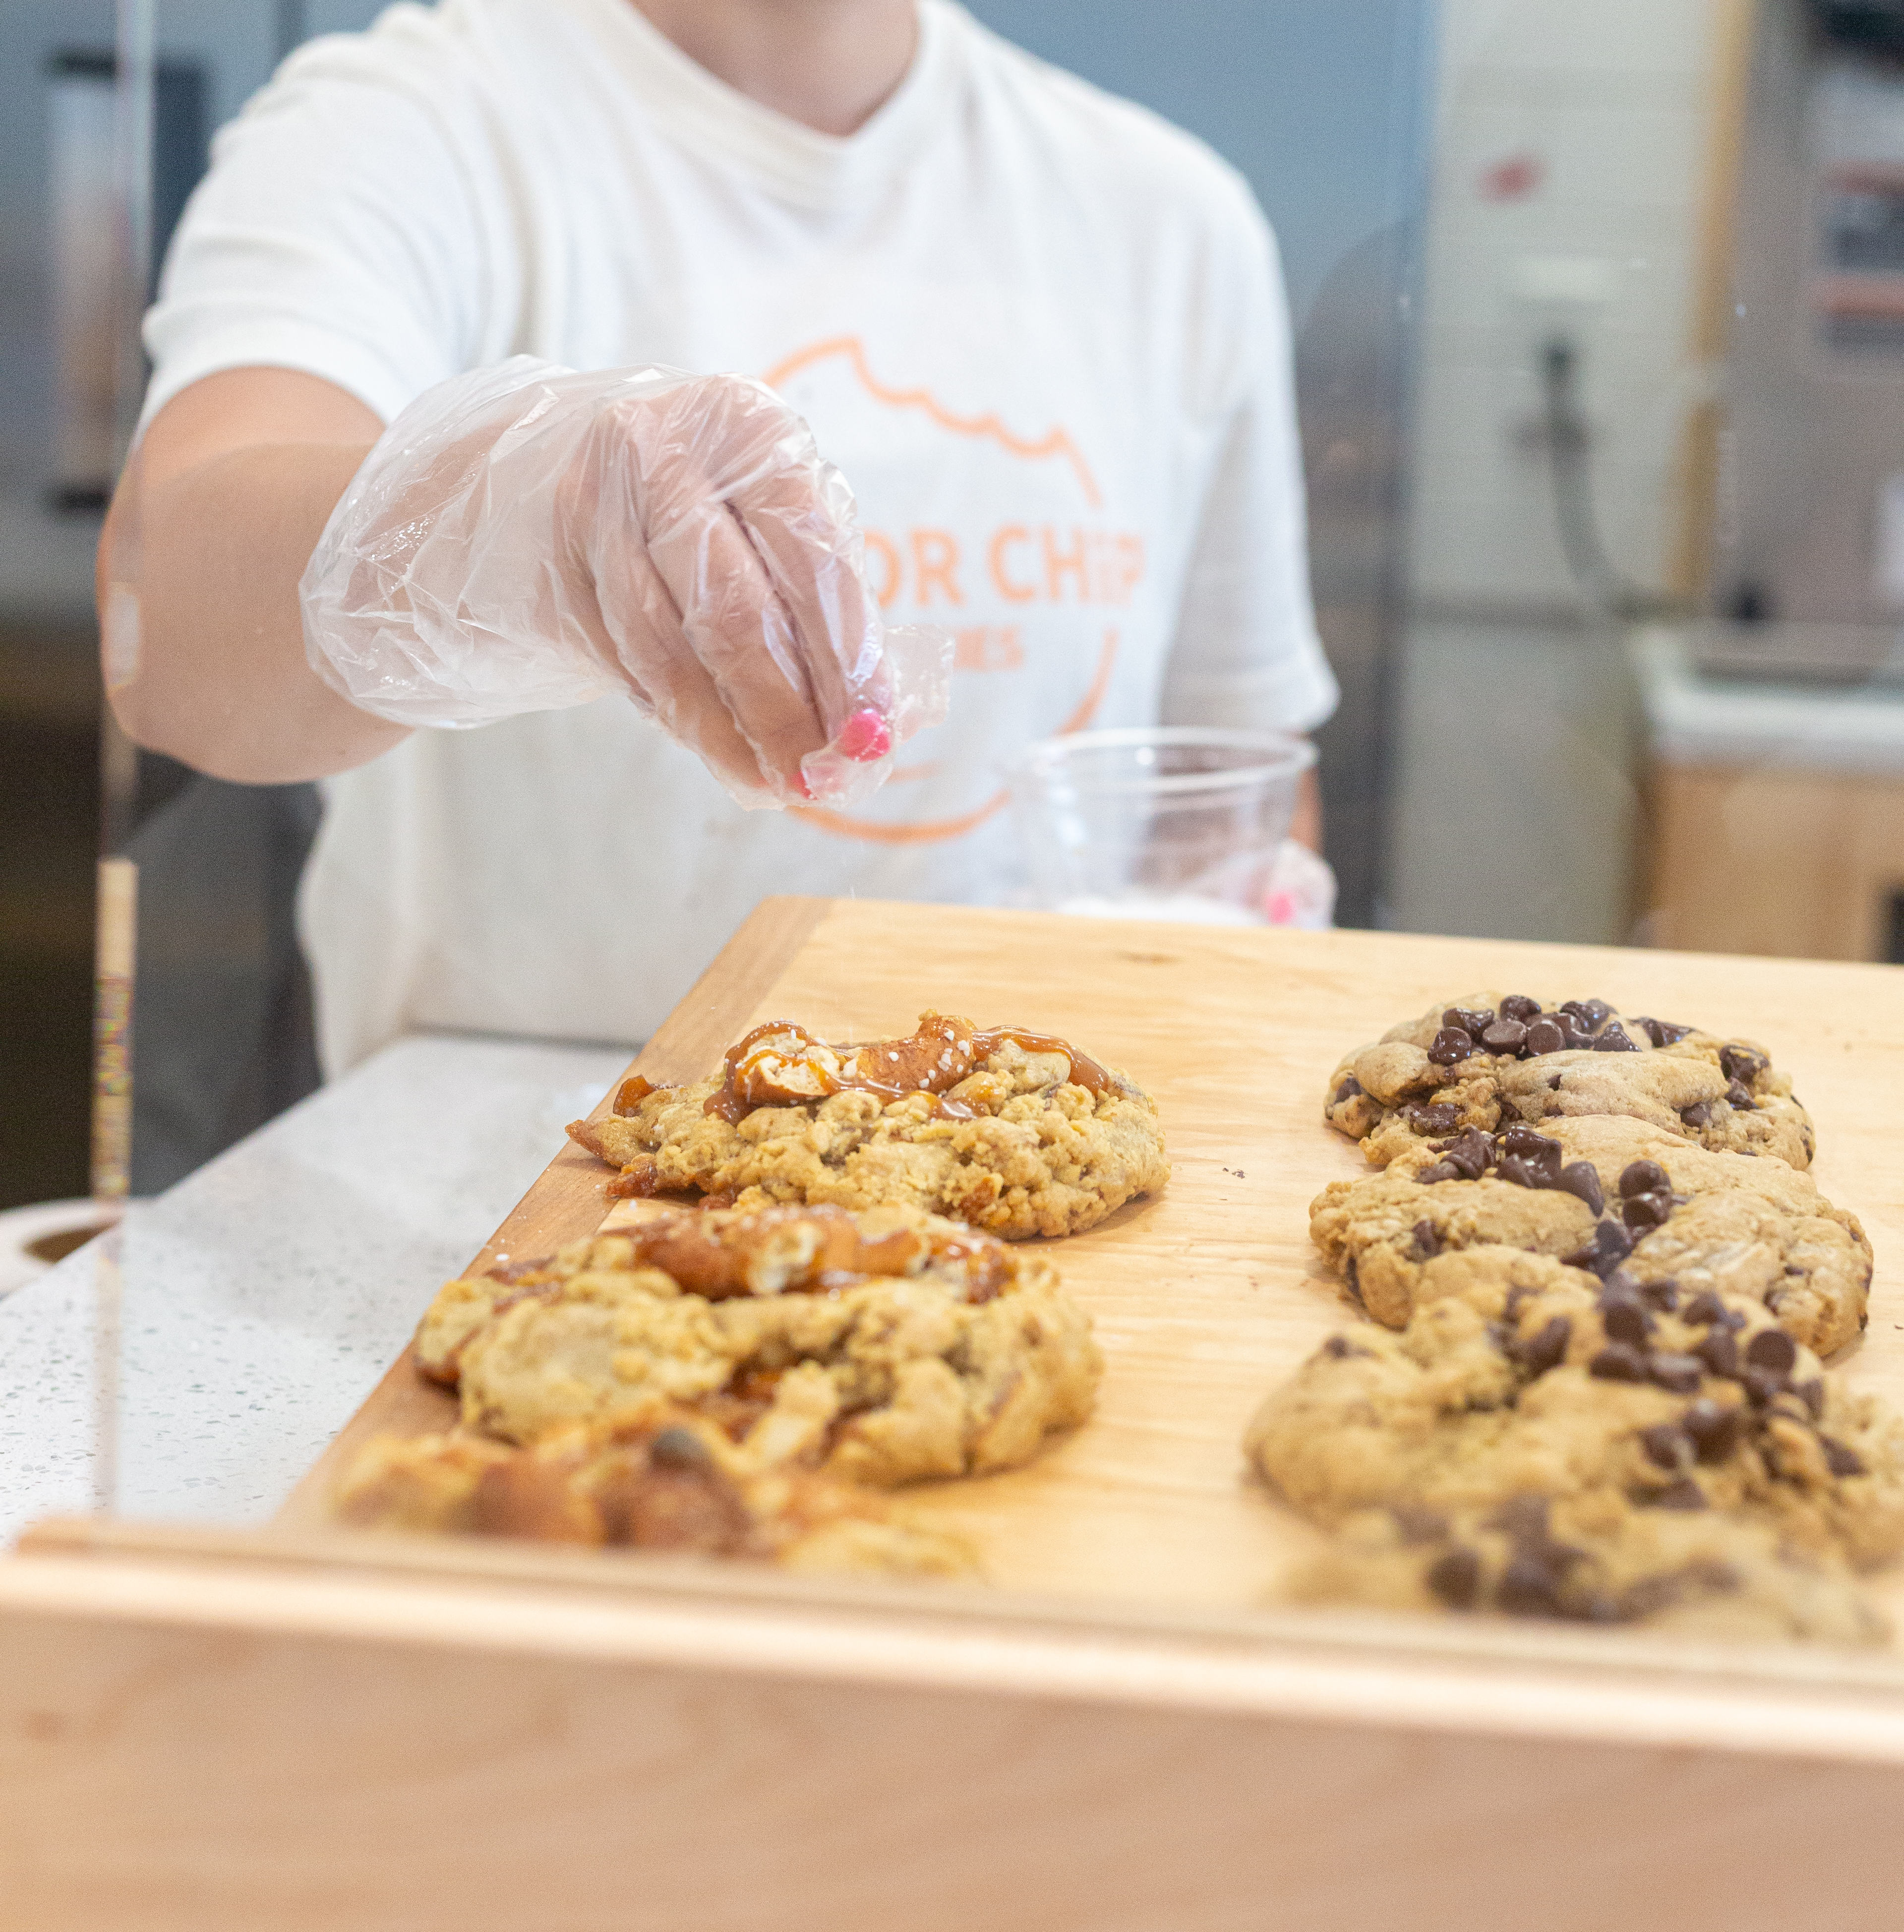
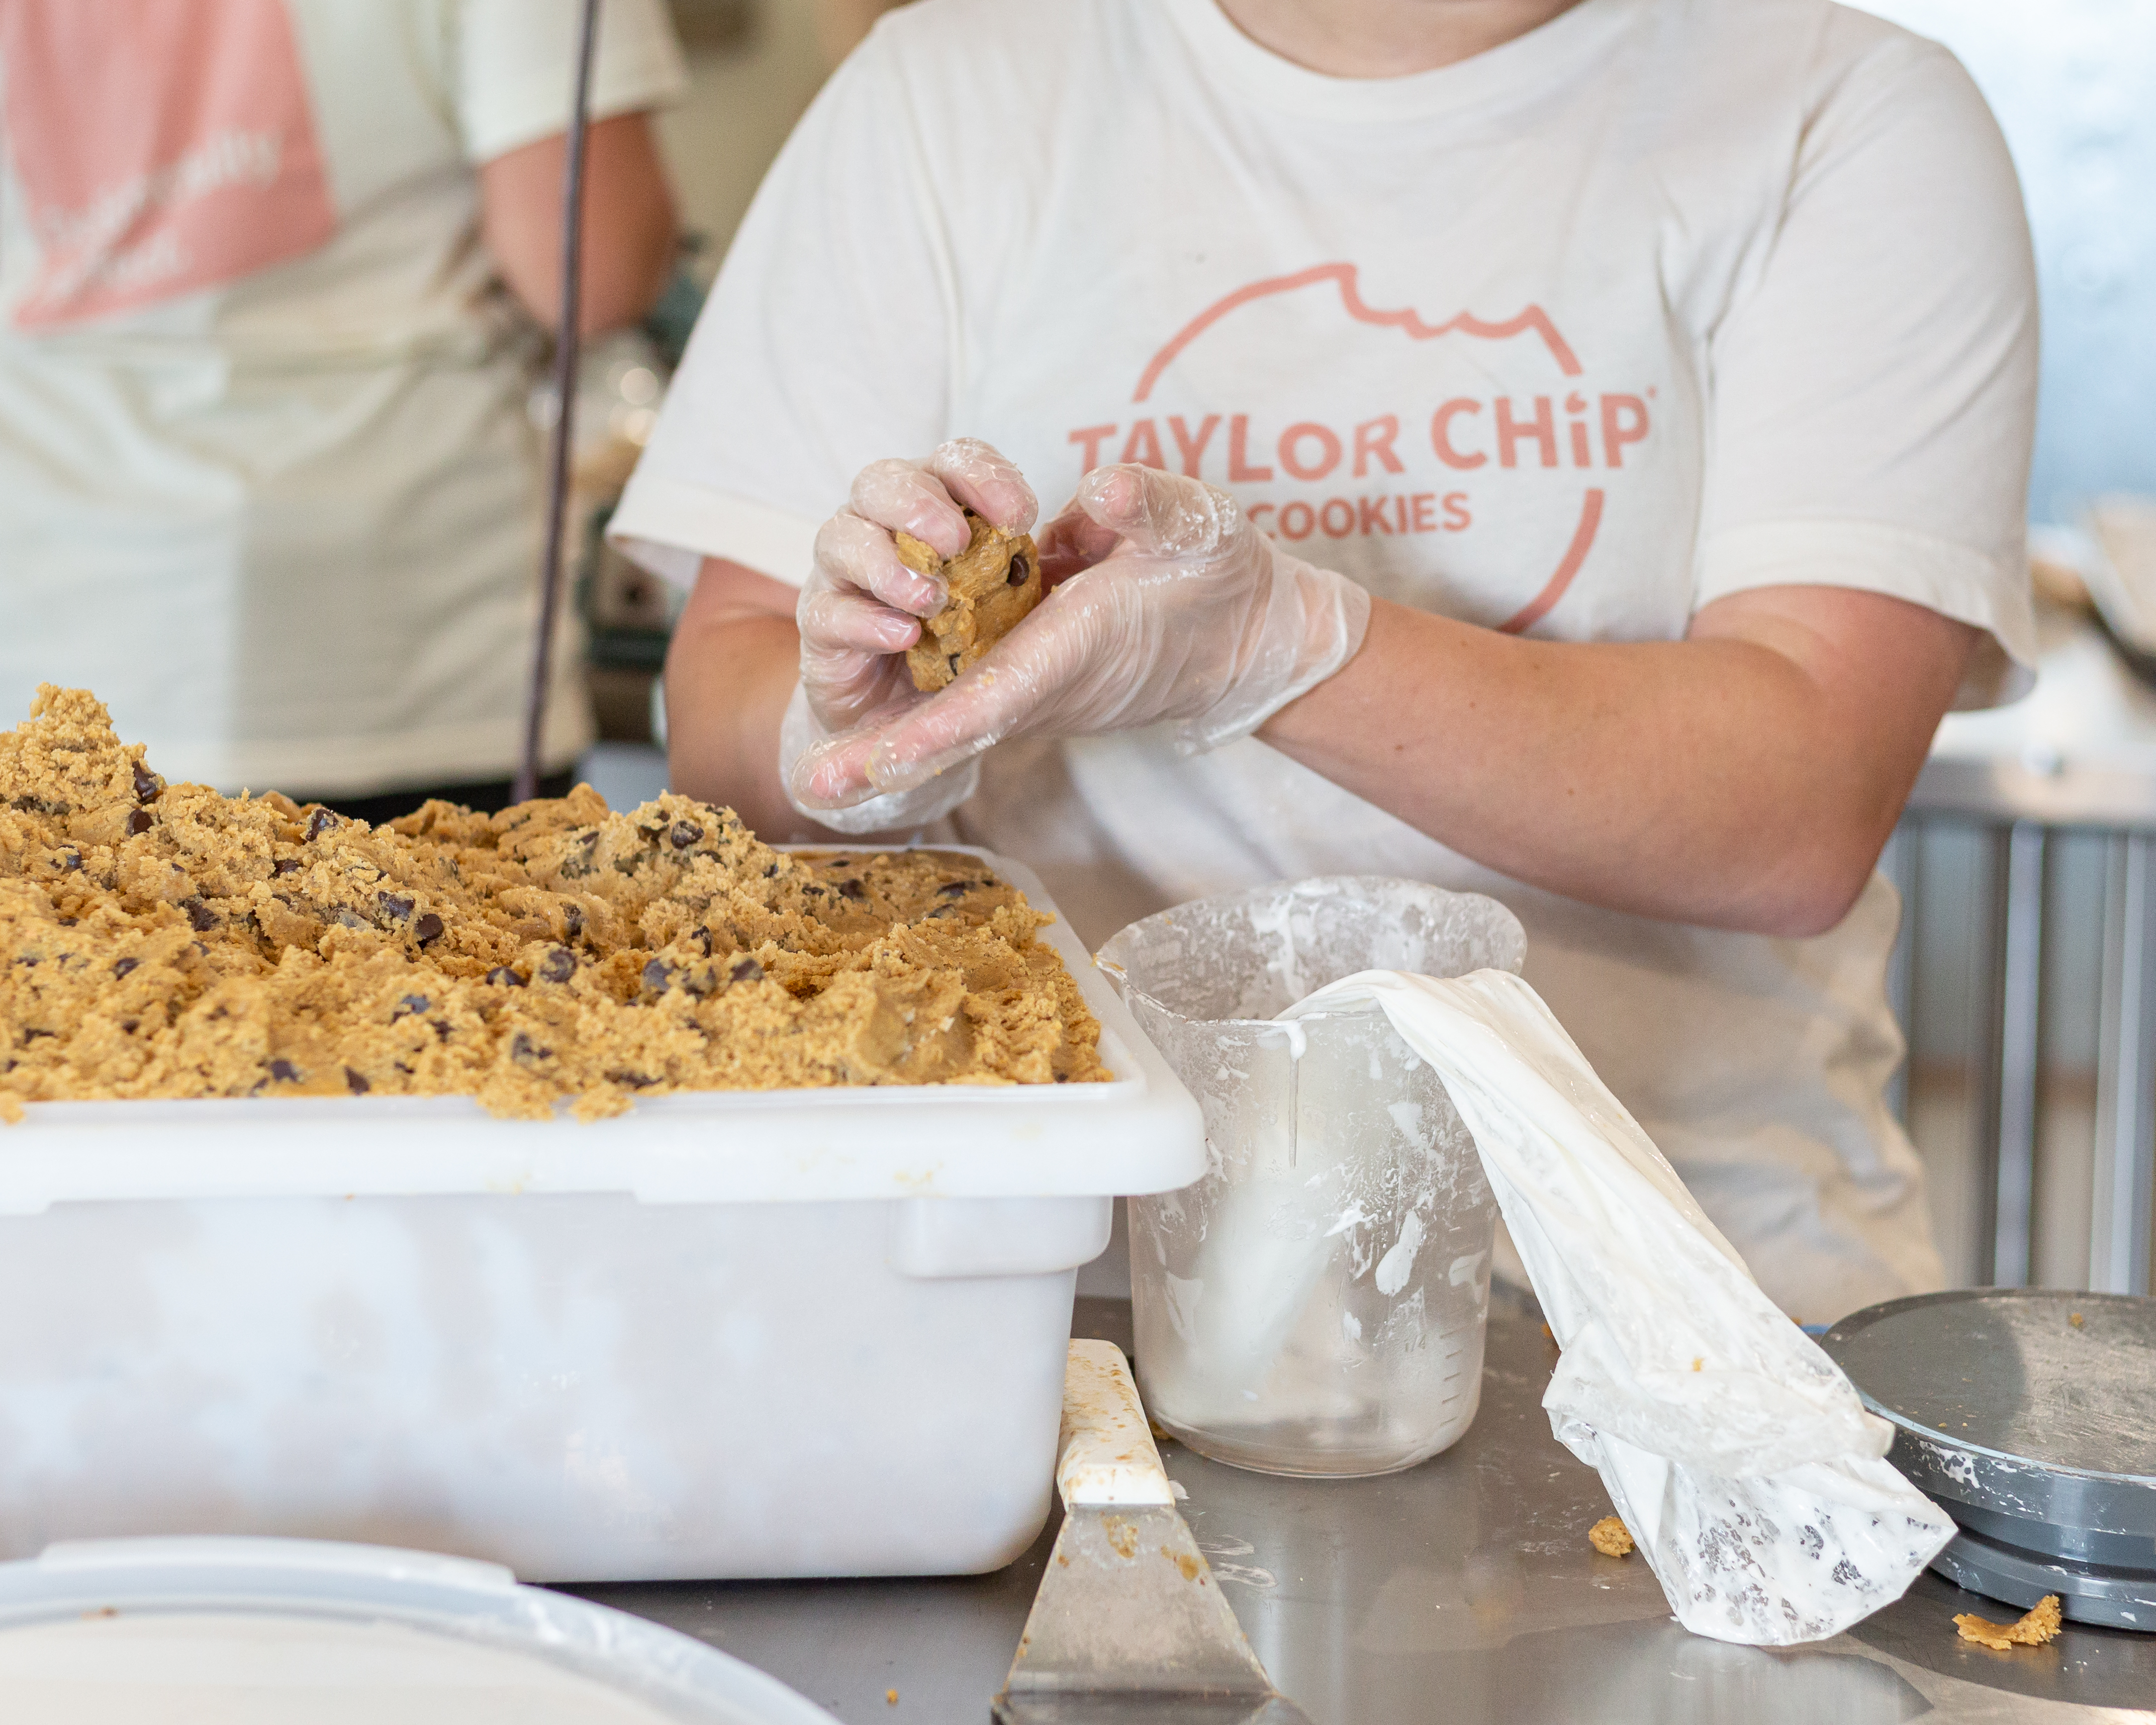
The Taylors and Taylor Chip

Sara and Dougie Taylor, brought together by their love for each other and sweets, undertook a baking journey that led them to perfect their cookie recipe just as they were tying the knot. What began as a playful venture outside their regular dates soon turned into a sweet expression. As they honed their craft, the couple discovered not just the joy of baking but also the intricate balance of flavors and textures needed for the perfect cookie.
Their mutual passion propelled them to experiment diligently, tweaking each batch to achieve a golden-brown finish and just the right crisp. It wasn't long before friends and family were clamoring for more of their delicious creations. Realizing they had something special, they decided it was time to share their love of cookies with the world.
Thus was born Taylor Chip, a tribute to their journey from baking novices to connoisseurs. Each cookie they crafted carried a piece of their story, a blend of love, precision, and a dash of fun. They made sure every batch shared the warmth and happiness they felt in each other's company, turning simple gatherings into moments of joyous indulgence.
The Taylor Chip Vegan Sugar Cookie
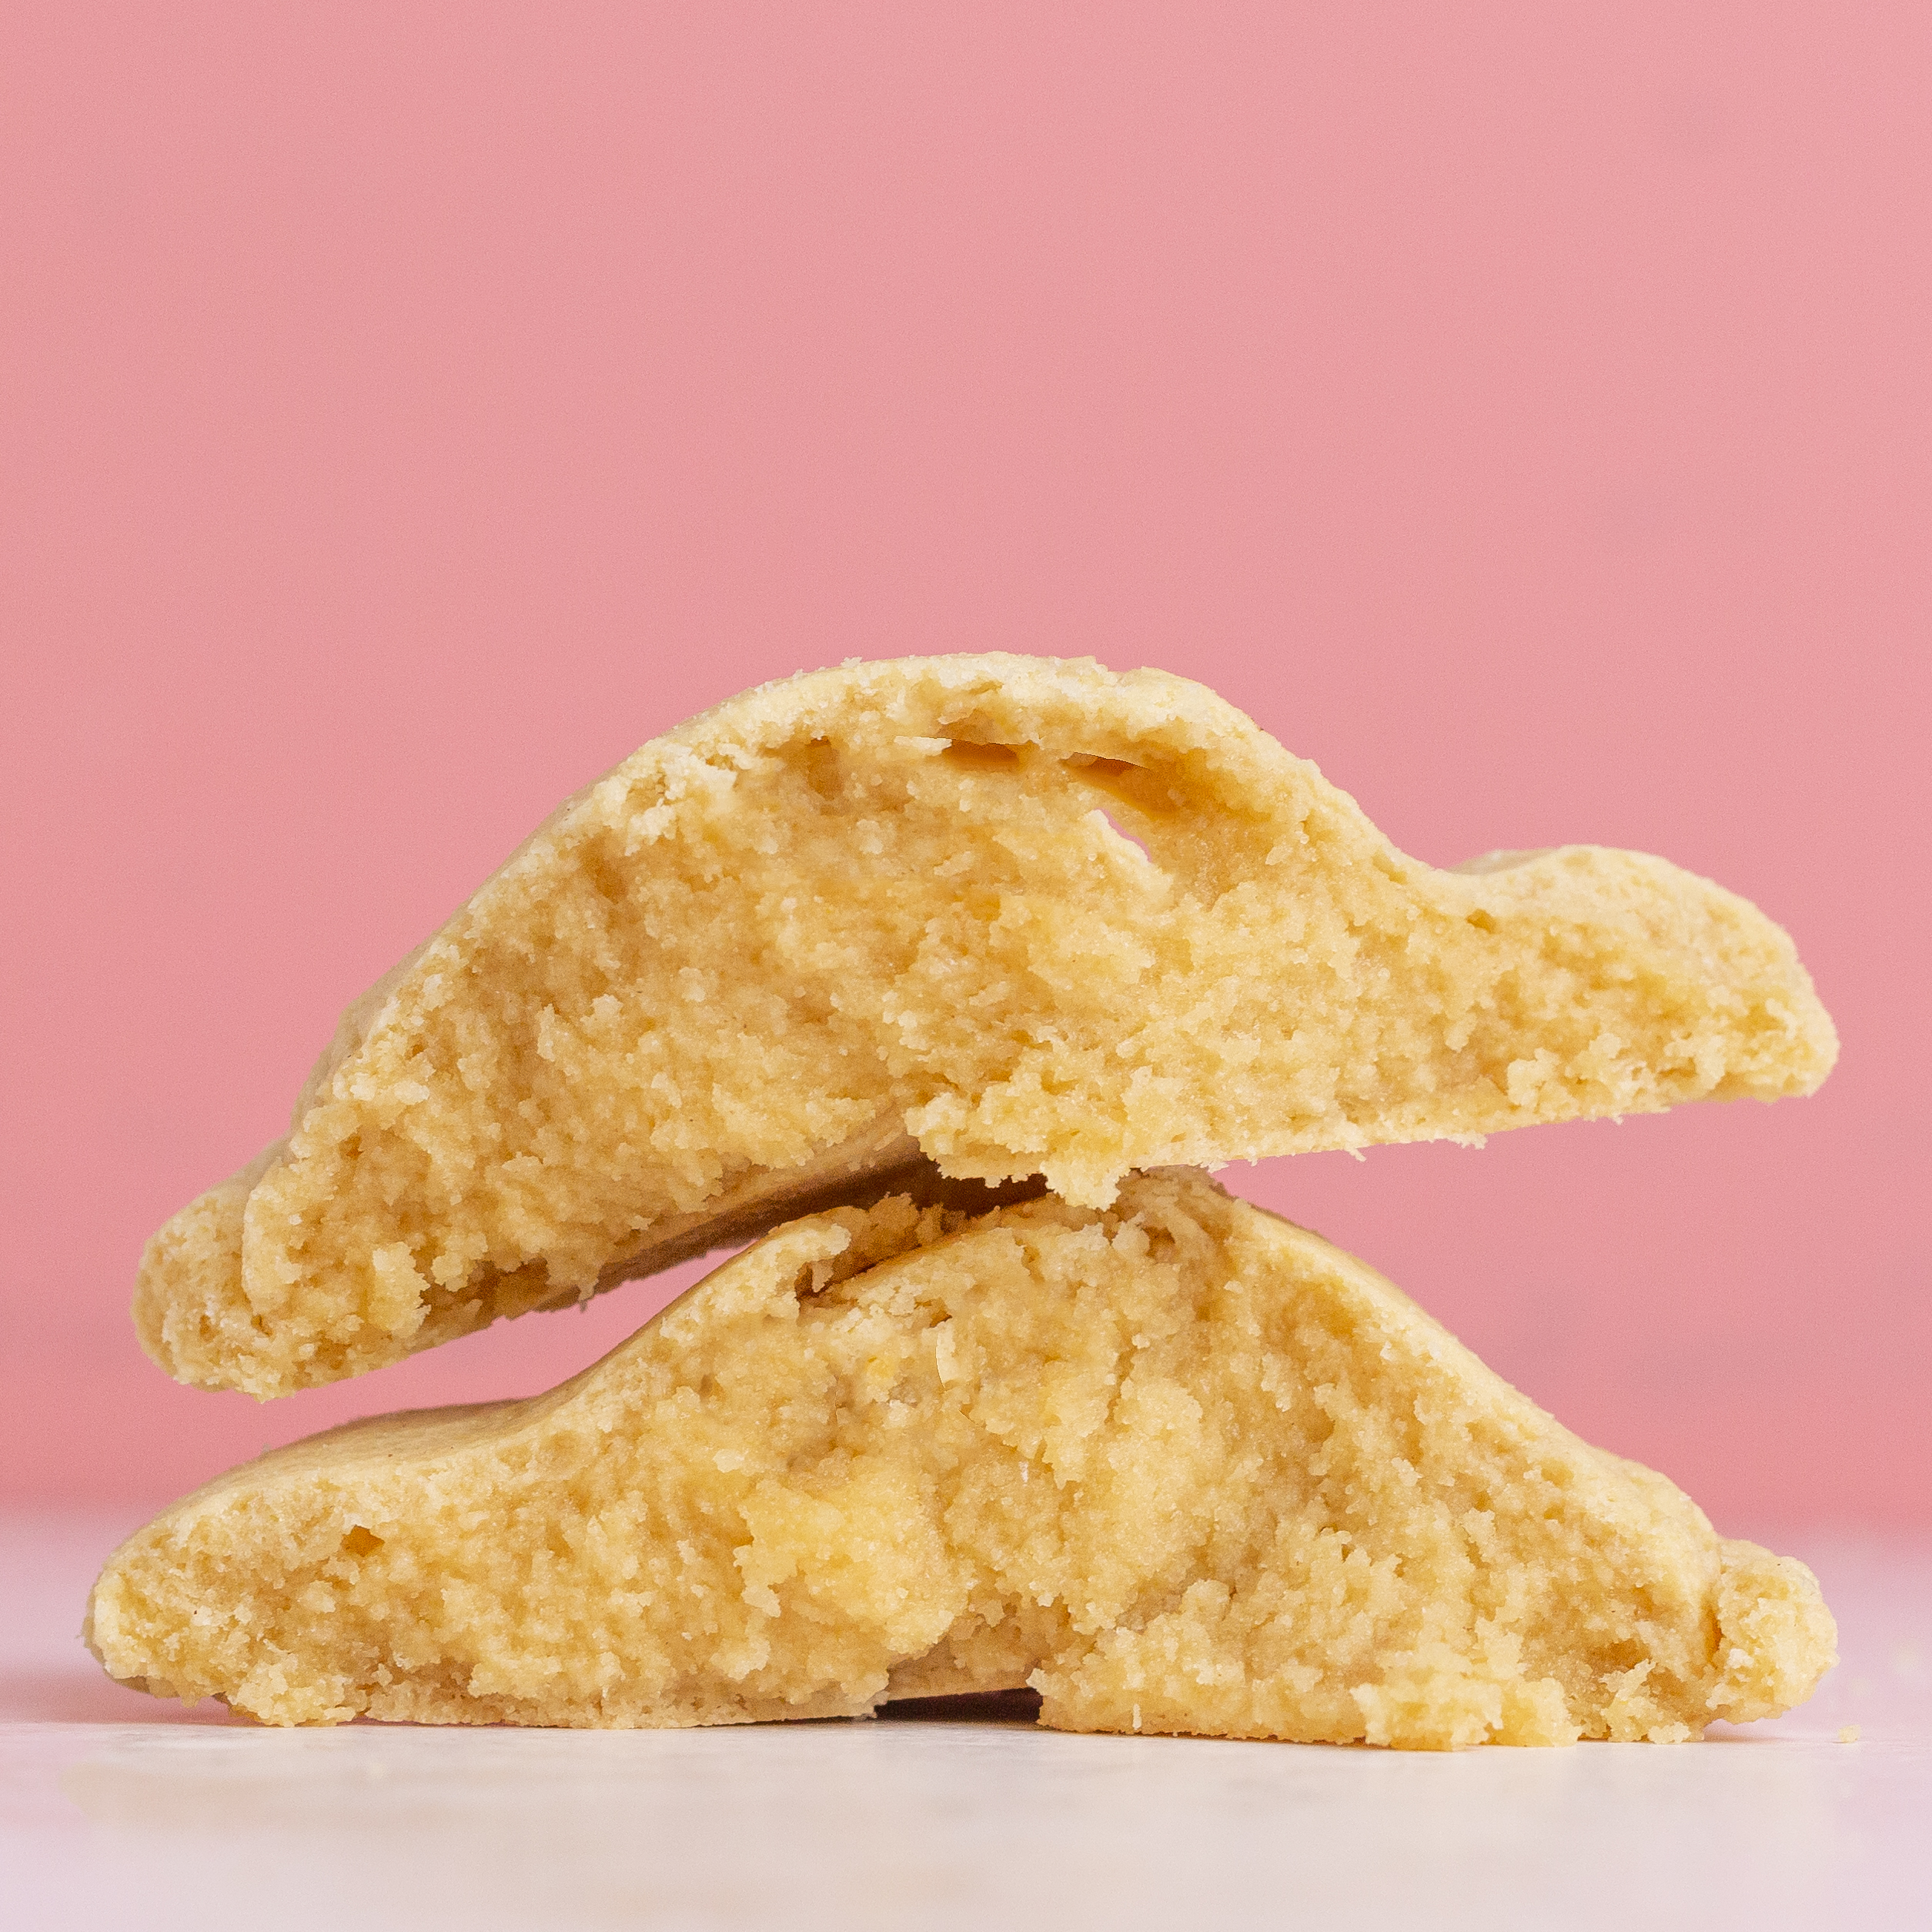
Let's explore the Taylor Chip Vegan Sugar Cookie, a delectable treat that masterfully combines gooeyness and crunch with a classic sand tart flavor. When you bite into one, you'll find it hard to believe it's vegan—but it is! What sets this cookie apart is its texture and taste, which make it a standout in the world of vegan treats.
Here are a few key aspects of the Taylor Chip Vegan Sugar Cookie:
- Ingredients: The cookie is made with non-GMO unbleached enriched wheat flour, organic coconut oil, and organic cashews, ensuring every bite is packed with high-quality, cruelty-free goodness.
- Gooey and Crunchy: Achieving the perfect balance, this cookie is gooey on the inside with just the right amount of crunch on the outside, resembling the beloved sand tart.
- Ethical Choices: Every ingredient, from the fair trade organic vanilla extract to the non-GMO aluminum-free baking powder, is selected with care for health and sustainability.
This isn't just a treat for vegans but for anyone looking to indulge responsibly without sacrificing flavor. We're sure it won't disappoint!
Frequently Asked Questions
Can Sugar Cookies Be Made Gluten-Free?
We've been wondering if we can make sugar cookies without gluten, and it turns out we definitely can! By swapping traditional flour for a gluten-free alternative, we'll still enjoy all the sweet, buttery goodness. We've just got to make sure the blend we choose can mimic the texture and binding properties of regular flour. Don't forget to check your other ingredients to make sure they're gluten-free too, especially baking powder and vanilla extract.
Are Sugar Cookies Suitable for a Keto Diet?
We've been wondering if sugar cookies fit into a keto diet. Typically, they don't because they're high in carbs due to sugar and flour. However, we can make them keto-friendly by using alternative sweeteners like erythritol and swapping out regular flour for almond or coconut flour. It's all about modifying the ingredients to suit our dietary needs while still enjoying a tasty treat. Let's give it a try and see how they turn out!
How Do Altitude Adjustments Affect Sugar Cookie Baking?
We've noticed that baking sugar cookies at higher altitudes requires some adjustments. The lower air pressure means we need to increase the oven temperature slightly and decrease the baking time. It's also helpful to adjust the amounts of flour and sugar to prevent the cookies from becoming too dry or spreading too much. Adding a bit more liquid can compensate for the faster evaporation rates we experience up here.
Can I Use Honey Instead of Sugar?
We've wondered whether we can substitute honey for sugar in recipes, and it turns out we can! When using honey instead of sugar, we'll need to adjust the amount slightly—about three-quarters of a cup of honey for every cup of sugar. Also, we should reduce the liquid in the recipe by a few tablespoons and lower the oven temperature by 25 degrees Fahrenheit to prevent over-browning. These tweaks help guarantee our treats turn out just right.
What Are Vegan Substitutes for Egg in Sugar Cookies?
We've found that when making sugar cookies without eggs, there are a few great vegan substitutes worth exploring. You can use applesauce, mashed bananas, or a commercial egg replacer. Each option affects the texture slightly differently, so it's worth experimenting to see which one you like best. Typically, a quarter cup of applesauce or mashed banana replaces one egg, while the egg replacer's package will guide the correct amount.
Conclusion
We've walked you through the essentials of making perfect sugar cookies, from choosing high-quality ingredients to mastering the art of decoration. Remember, it's all about balance and precision—take your time with each step, and don't shy away from experimenting a bit. If you hit a snag, use our troubleshooting tips to get back on track. Happy baking, and we can't wait to hear how your sugar cookies turn out—we're sure they'll be a hit!


